
Today was spent converting all the laboriously created weavers, ribs and rims into a hazel basket. More weavers and ribs were needed, and some rims that Lorna had prepared earlier.
Rims
Some of us had managed to make a set of rim halves yesterday from some bendy core. Most of us hadn’t. Lorna brought to pre-prepared rim halves. She made these from thicker hazel that she’d cleaved and then dressed on a shave horse. These chunkier bits of hazel were put into the swill boiler (a bubbling pan of water – fairly big, I’d guess) to get more flexible. She then formed them into rim halves and tied them with twine.

Choose a pair of “U” shaped rims
Matching pair
First we chose a pair of rims. Ideally we each chose a pair of matching rims. We then spent a bit of time faffing to try to work out how to position the two “U” shapes to make the most attractive rim. DO remember to mark the two halves at this point. It’s useful to mark where the centres are, and to mark how much to trim off each end. The ends are trimmed so that there’s a good overlap. It’s also important that that the outside rim doesn’t sits flat to the side, and the inside rim doesn’t stick into the corner radius.

A different set of “U” shaped rims
Fettle
Put a slipe on the outside rim, to minimise the step between the rim halves. Make a shaving on the outside edge of the inside rim so that there’s a narrow gap between the two halves. This gap needs to be big enough to slot the ribs into, and long enough so that three ribs can be fitted with at least a finger space between them.

Two rims
Pin
Once all the fettling of the rim halves is done, the ends are taped up, and the two halves are pinned together with a wire nail at each end. We blunted the nail tips before hammering them in. This was meant to reduce the chances of the rims splitting.
Central Ribs
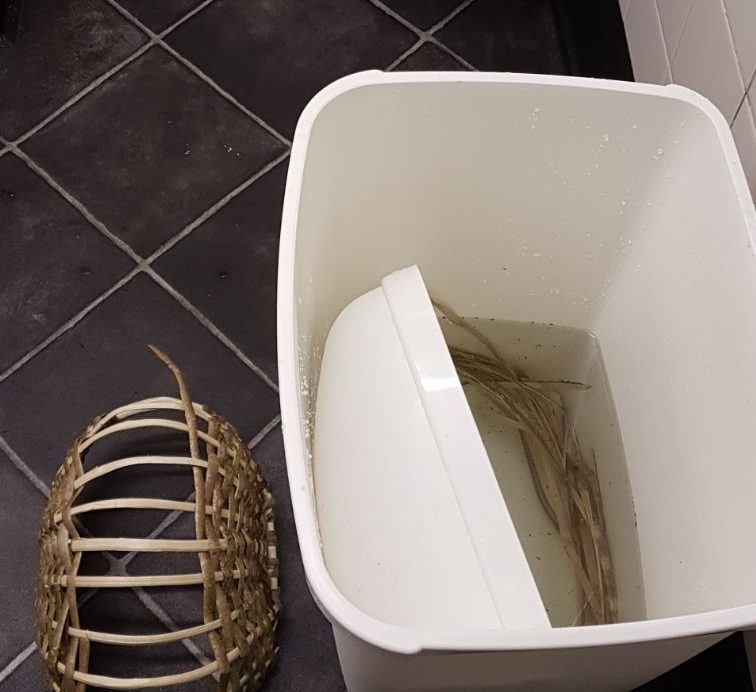
Use whatever you have available to soak in
Soak
It’s now time to use those ribs. If they don’t seem flexible enough, soak them in water for 10-15 minutes. You might as well soak the weavers at the same time. Any large container can be used to soak the hazel. Or whatever you have available.

Weavers after soaking
Fit
After soaking, collect the material, and then take the first three ribs.

Fit central three ribs
Thin the ends of the ribs so that they will slot into the gaps in the rim. Slide the ribs into the gap, so that they stick through about half a centimetre.
First weaver
Now take the first weaver. Choose a long one that’s dressed so that it’s quite thin. With the bark to the back (facing inside the basket), poke the end of the weaver down to the right of the rightmost rib.
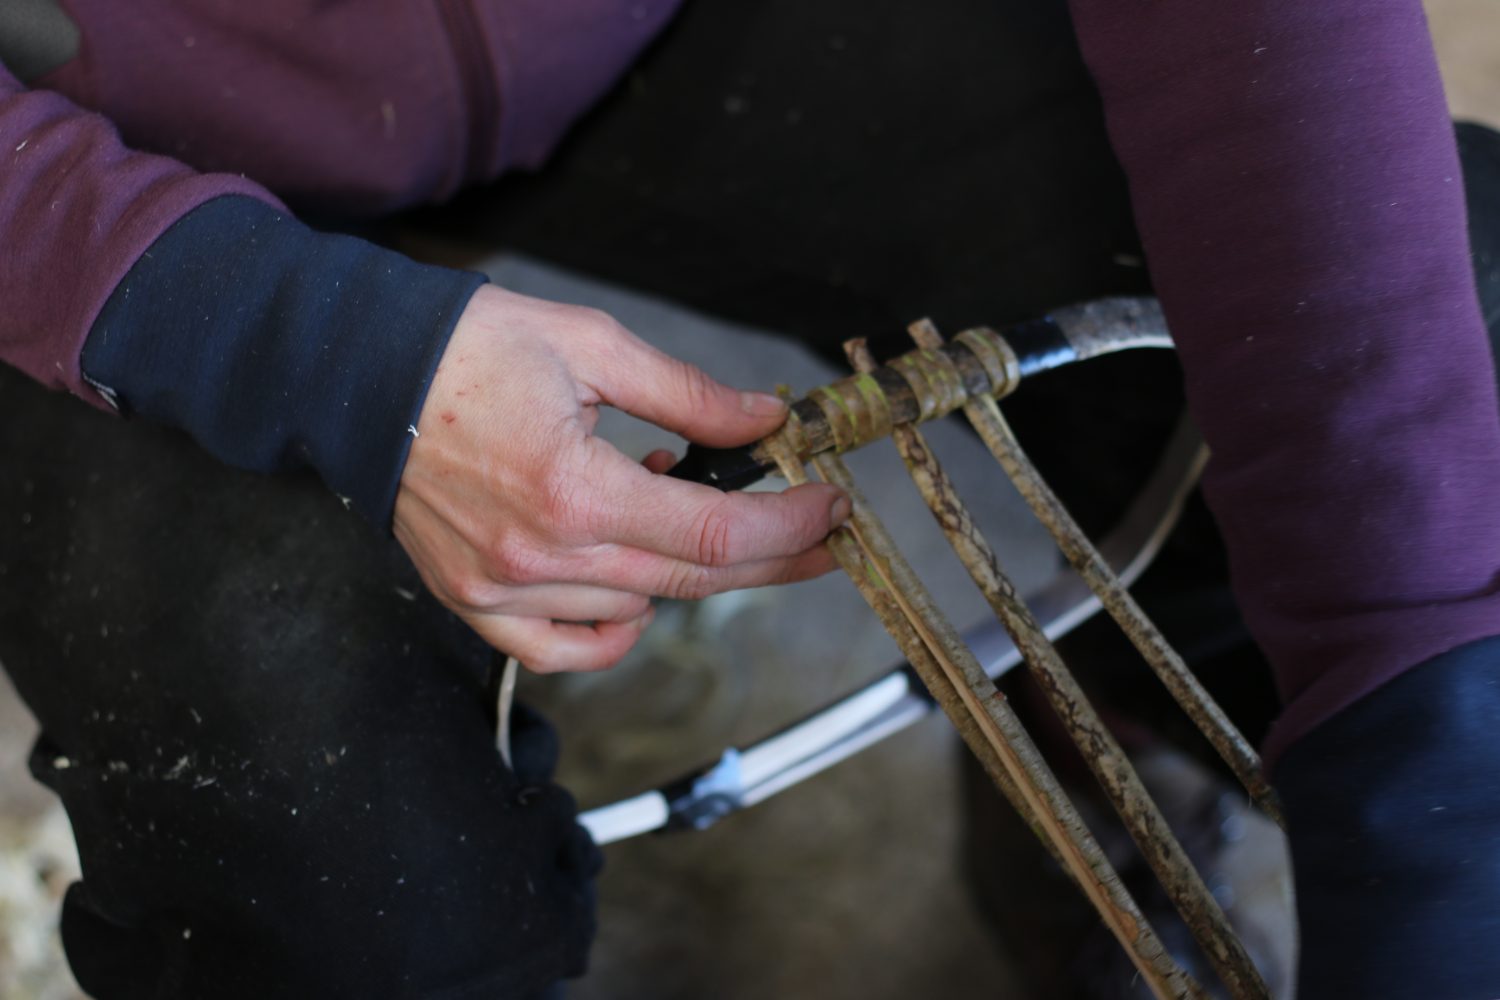
Wind the first weaver around the three central ribs
Slot the weaver behind the rib, and then wrap it twice around the rim to the outside of the rib. Cross over the rightmost rib, and wrap it two or three times around the rim between the two ribs. Cross over the next rib, and wrap around two or three times, and then cross over the last rib and wrap twice around the rim.
The last wrap of the weaver brings it over the outside of the rim. Weave it under the first rib, over the second, under the third and over the rim. Wrap around the rim twice, and then give a half twist, so that the bark side (or the outside of a naked weaver) stays to the outside of the basket. Weave over, under, over and wrap twice again. Continue weaving over the central three ribs for about four rows, or until the weaver runs out.
Bend the central ribs
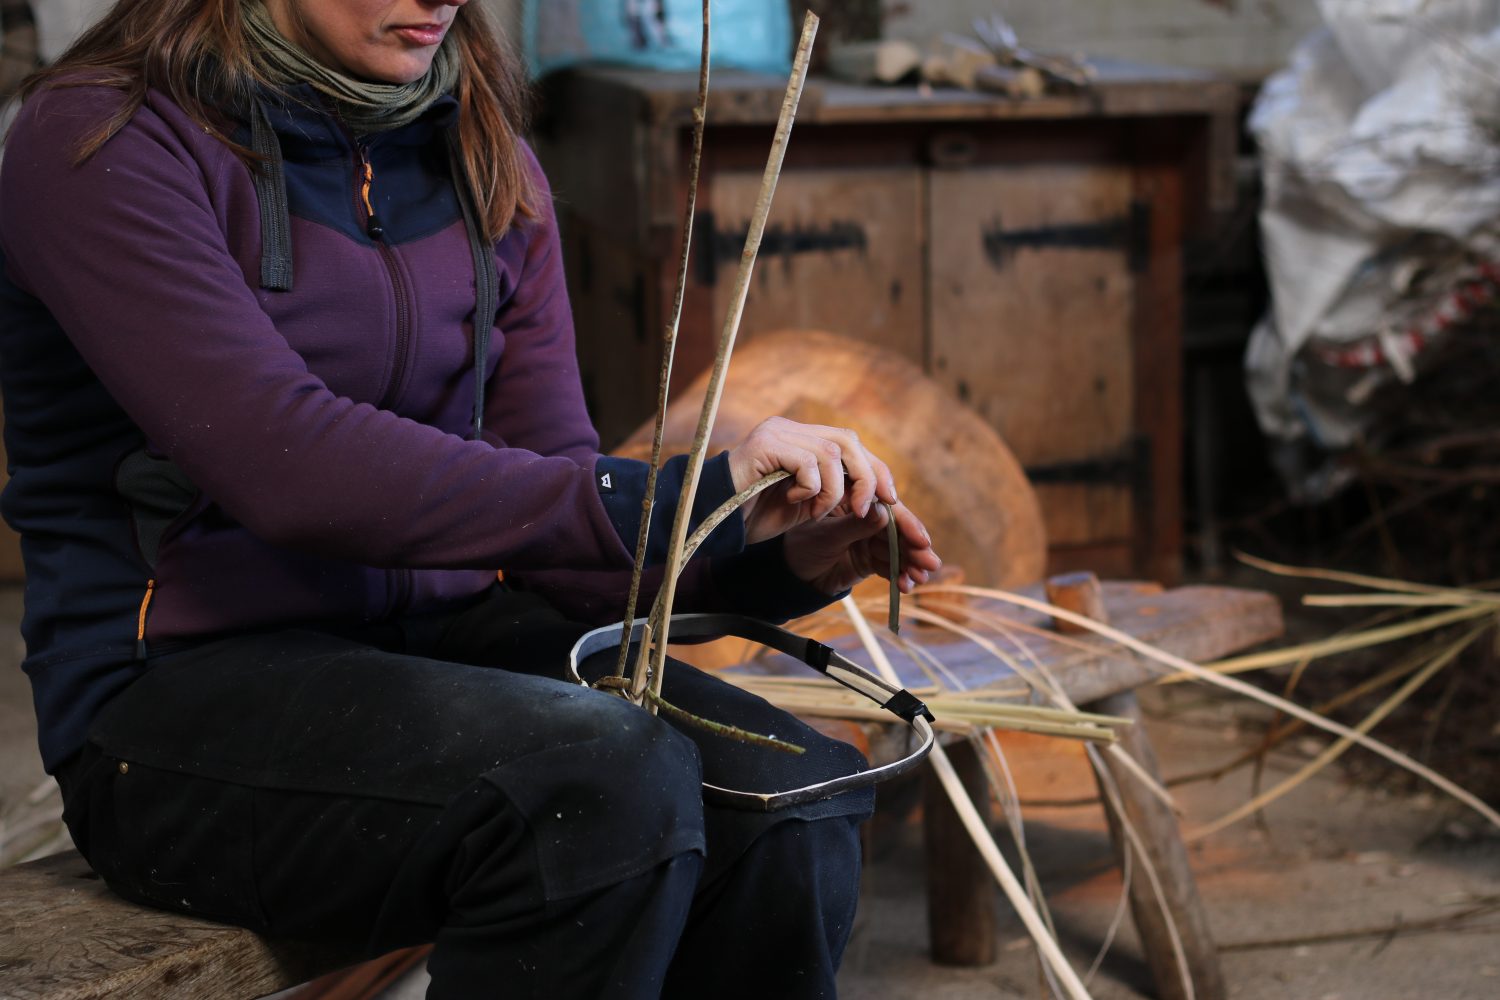
Bend the ribs over
Take the middle rib, and bend it carefully while supporting it with the other hand. You really don’t want to hear that cracking sound just now. Position it so that it forms the right depth of the bottom of the basket. Trim the end, and then massage the rib to make an even shape. Trim all the ribs to the same length and then slipe the ends. Push these ends through the gap in the rim on the other side of the basket. You might need to use the bodkin to help here.

Central ribs woven in
Second Weaver
Weave a second weaver around the three ribs at the other side. Start by poking the end down behind the rightmost rib, with the bark to the back. Wrap around the outside of the rib and between the ribs before starting the standard weave. Always join a weaver on the central three ribs. Finish weaving when the weaver end is too short to return to the centre.

More ribs fitted
Add ribs
In the gap between the central ribs and the rim, the weaver forms a figure of eight pattern. The figure eight has two “sheds” – these are the spaces to either side of the crossed weaver. Fit a new rib into each of these spaces. Thin the end of the rib to slot it into the weave at either side of the basket. Adjust the length of the rib to match the curve of the central ribs.
New weavers
Always add new weavers on the central three ribs. Cut the old weaver so that it goes over the knee of a rib. Use the new weaver to mirror the weave of the old weaver. Slide it in under the rib, over the top of the old weaver. Continue the weave.
New ribs
Add a new rib whenever there is a big enough gap. Add the ribs in pairs. Whenever you add a new rib, stop the weave at the central ribs (even with extra weaver length waiting to be woven) continue weaving once the ribs are in.
Finishing off
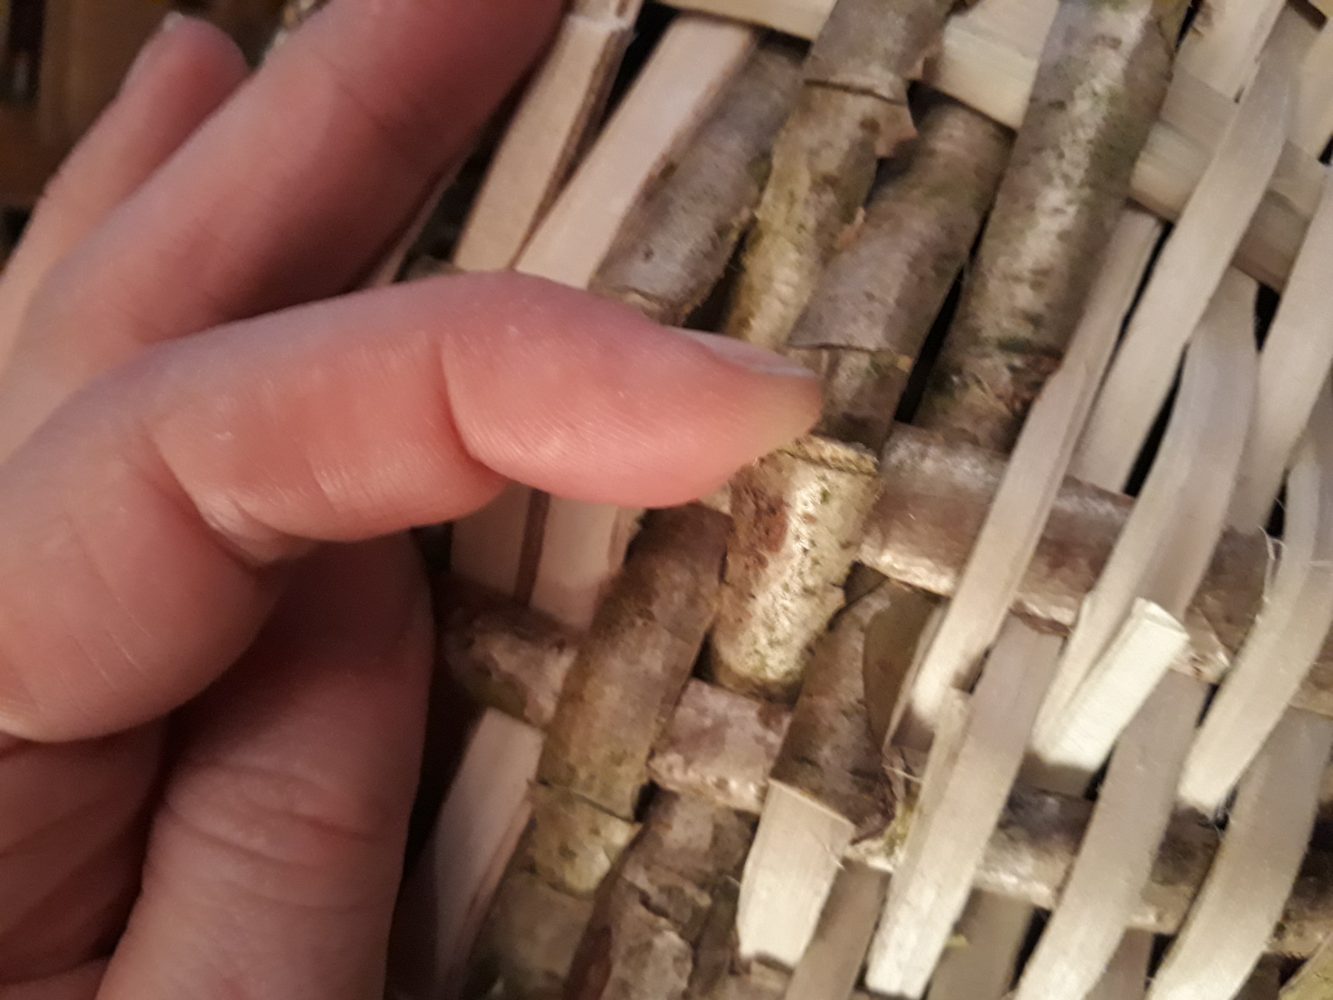
Last weaver
Continue weaving from alternate sides. As you weave, the sides get closer, until there is just a narrow gap left. Squeeze and push the woven sides to maintain an even gap if possible. If this isn’t possible, adjust the gap at the rim by wrapping the weaver more (or fewer) times around the rim between rows. The last weavers will meet each other in the middle. Make sure they meet on the same weave – that is that the under, over, under etc. matches each other.
Hazel basket practise
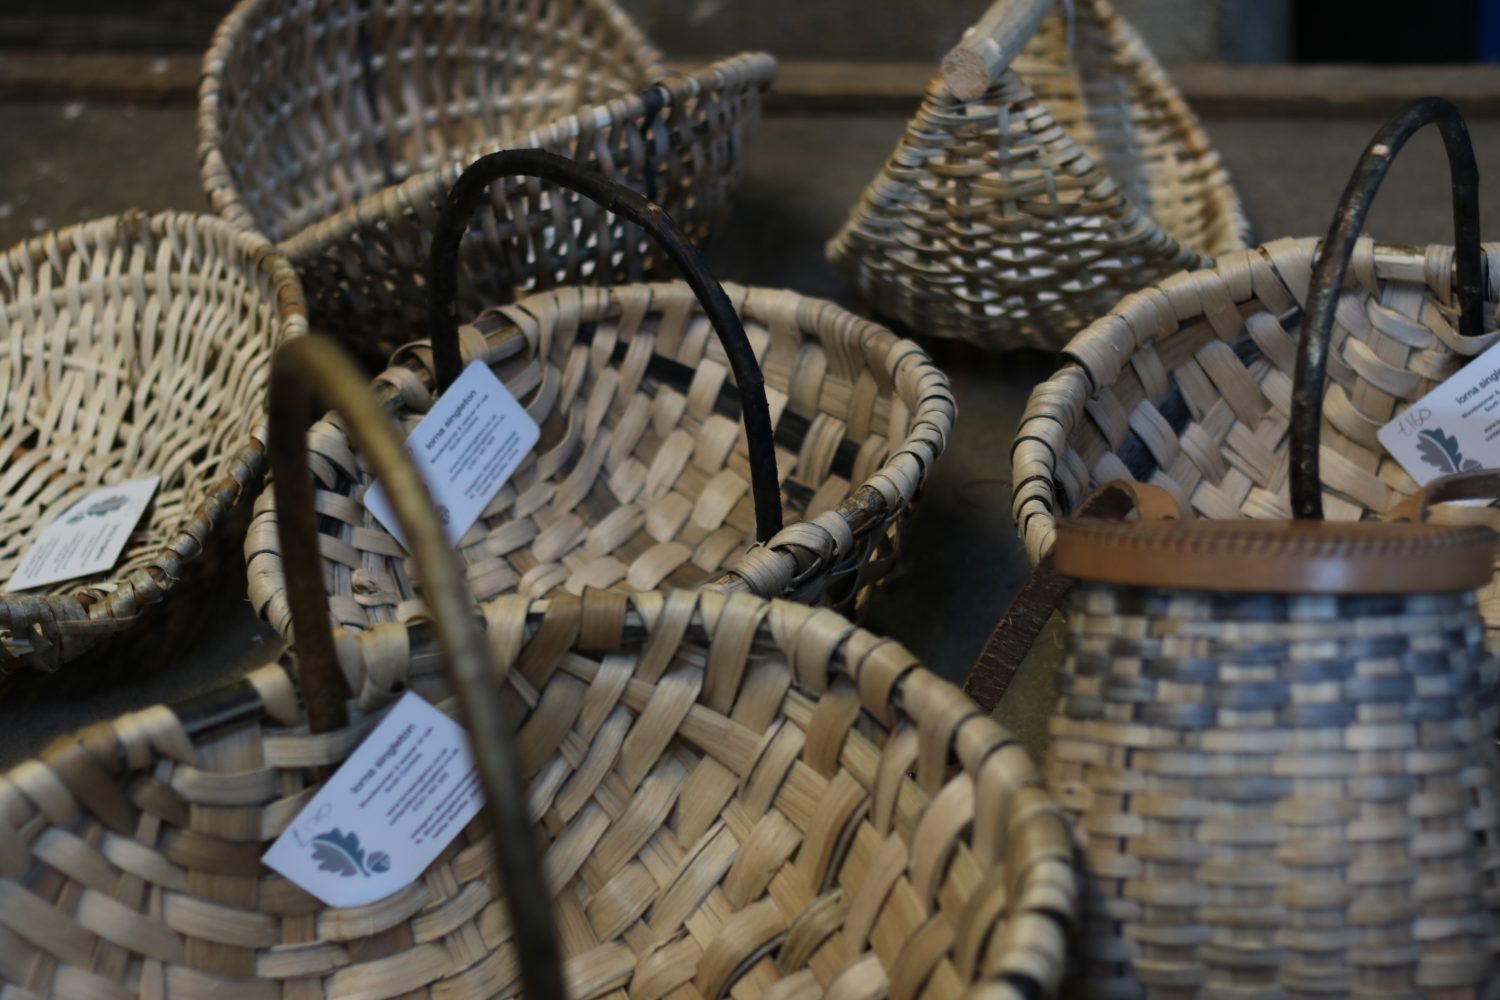
Lorna’s Baskets
With many more years of practise and research, perhaps we’ll be able to make a hazel basket that looks more like this…

Recent Comments