
Willow Structures
James Bedingfield hosted our module this week. Along with his wife, James grows willow and makes all things willow and wood-based from his farm to the south west of Newcastle. Have a look at his website, it’s full of fun things made from and with wood. We went to the farm to learn about willow structures – it was a gear change from the baskets we made last week.
Not all willow are created equal
“Basket willow” v. “Structures willow”
Last week we made baskets. These are relatively delicate, smaller structures, and need a willow variety that is flexible and springy.
Willow structures are more robust than baskets. Therefore, a more robust variety is needed. Something called a “biomass willow” is fast growing, and (unsurprisingly) is often used for biomass. Because it grows quickly it has a large pith. This makes it chunky, and useful for structures. The large pith means that there are fewer outer fibres (per cross section area) running along the length, so it’s not so flexible and is more prone to cracking.
Willow: “Tasty” v. “bitter”
When an animal nibbles the tender shoots of any tree, they cause damage. Even if the shoot continues to grow, there will tend to be damage and forking of the shoots. This isn’t ideal when the willow is for weaving into baskets or structures. Some species (salix alba) feather in this way even without being nibbled.
Some varieties are more tasty to animals such as rabbits and deer. Examples of these are salix triandra (black maul) and salix daphnoides. These types need to be protected when they are grown in areas with this type of predation. Other willows, including some varieties that are useful for baskets, are more bitter in taste (to rabbits etc.), for example salix purpurea.
Willow: Native v. non-native
Only native varieties can be used for revetment work (to protect river banks). Note that “native” in this sense does NOT mean just that it grows locally. It means that it has always grown locally, and that the variety has not been imported or cross-bred (too much). Examples of native varieties are salix alba and salix pentandra.
Willow beds v. Sally gardens
Before the industrial revolution, every settlement needed willow to make any sort of carrying implement, as well as other structures. So each settlement may have had a willow bed or a “Sally garden”. “Sally” is from salix, or sallow.
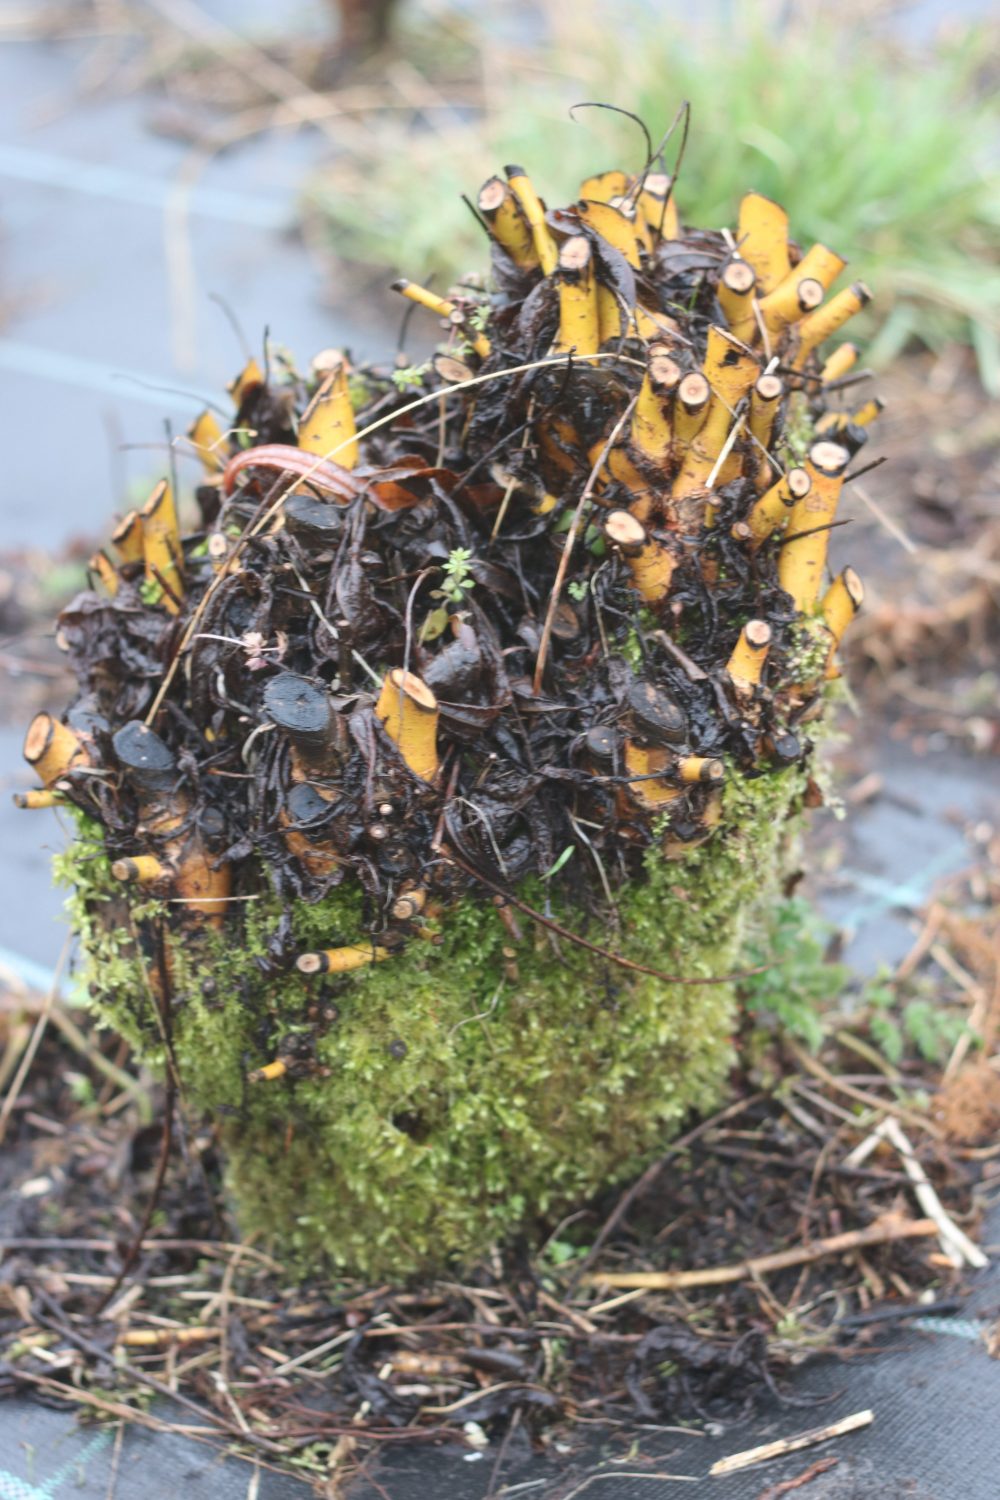
Willow stool
To plant a willow bed, remove competition from weeds. If possible put a mat down for a year before planting. Although any cutting should root, it’s best to put cuttings into water for a bit before planting. Those that start to form a “root bud” are good to plant. Cut a hole in the mat and plant the cutting through it. Then weight the mat down – if you don’t the mat may rub off the new shoots forming on the willow.
Harvest the shoots very close to the ground, especially for the first cut, after a year. If a longer stem is left, the stool forms higher up, and the shoot is prone to wind rock.
Willow: Buff v. white
Buff Willow are boiled in tanks for 8 to 10 hours and then stripped of their bark – the tannin in the bark turns the rods a copper colour.
White Willow are stripped of their bark just as the sap rises and fresh leaves start to appear, they are then left to dry out in the sunshine.
Fresh cut v. soaked
Willow can be used freshly cut, or better still, six weeks after cutting. If it’s used after six weeks then it’s already shrunk a bit, but is still flexible. Baskets made from willow that is much greener than this will tend to be looser and more flexible after the willow has shrunk.
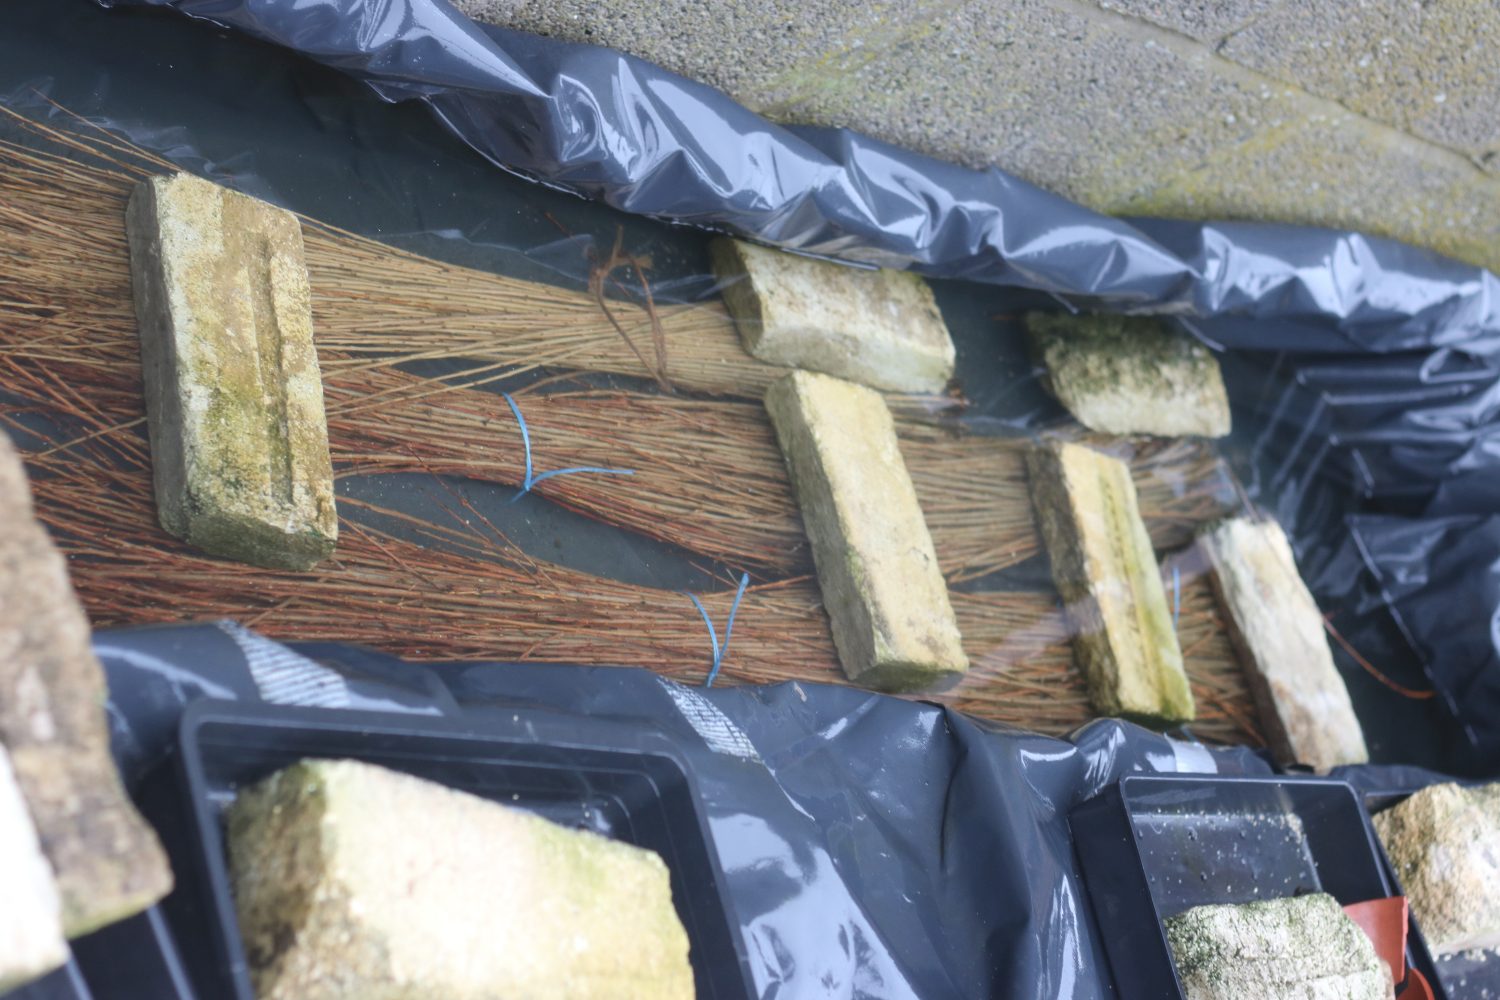
Willow bath
If willow (brown, buff or white) is kept and dried, then it can be soaked at any point to make it flexible enough to work with. A rough guide, for brown willow, is to soak for one day per foot of length – or a little longer. After soaking, wrap the willow in a cloth and leave overnight to “mellow”. Then it’s ready to use. Buff or white willow needs a shorter soaking time.
Grading

Dan grading willow
As with selecting material for baskets, the time spent at the heap (or bolt) is crucial. Tempting though it is to select the first rod that springs to the hand, it’s always better to choose matching sizes, and rods of the right lengths. This might be a lesson that I have to continue to learn.
Grading isn’t necessarily boring or time-taking though. One method is to lie a bolt or bundle on the floor (with the butt ends in line), and pick up the longer rods by their tips. A shake will separate these longer rods out.
Prop shorter lengths up in a large bucket. This makes selecting the longer lengths easy.
Making
Today we started making a few different things. We finished some of them too.
Making a circle…. or a wreath…. or a quoit
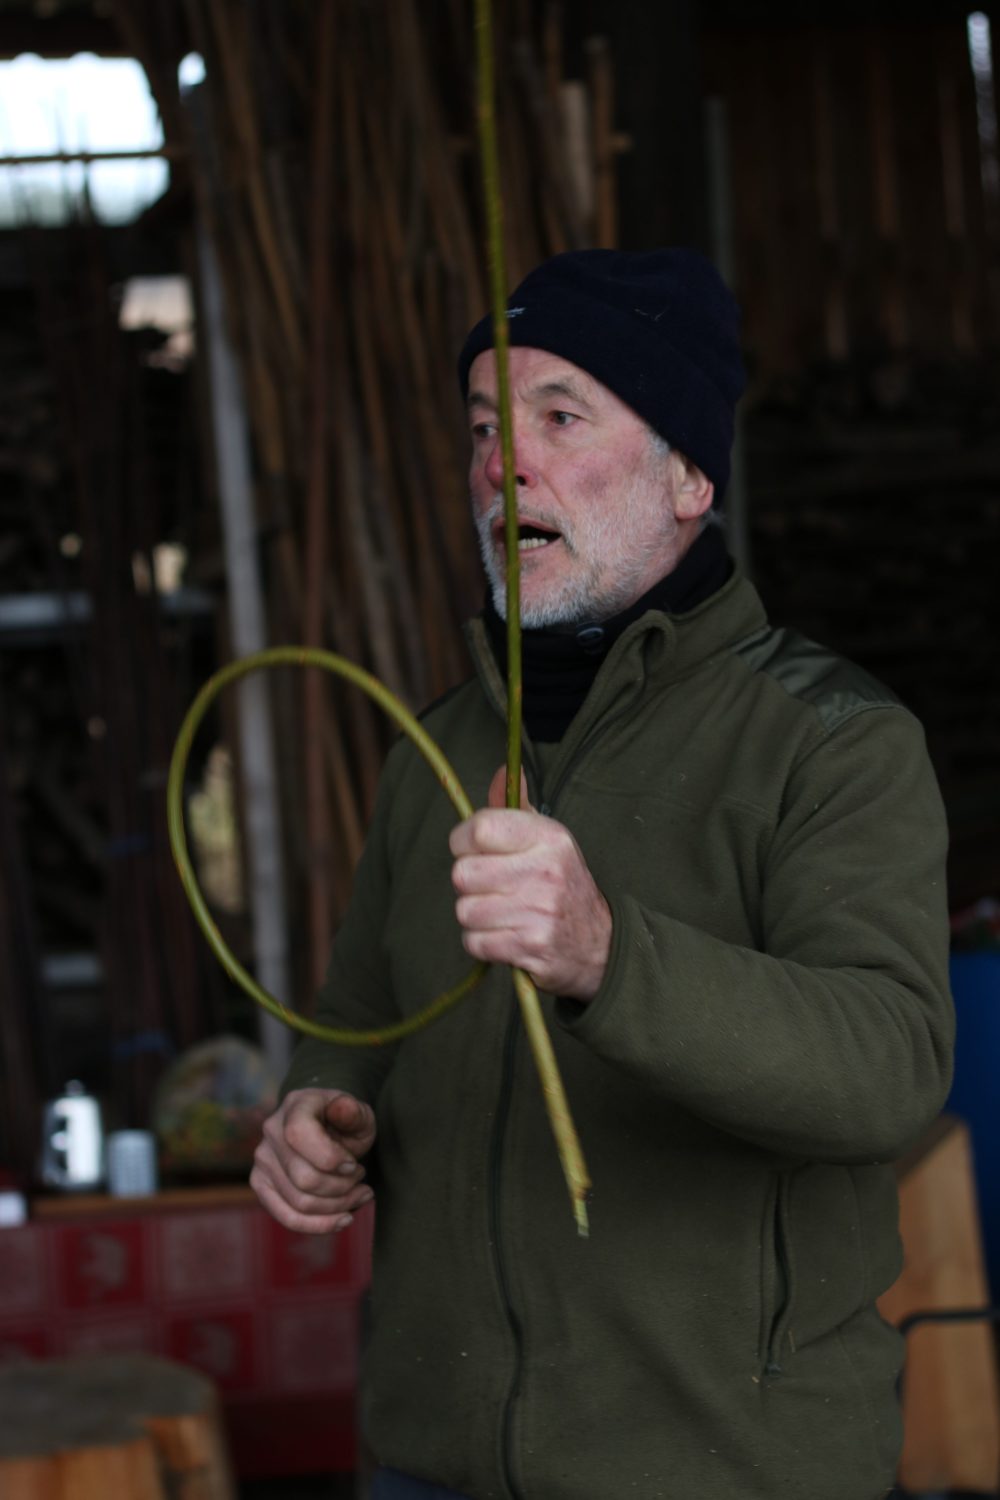
Make a fish
To make a circle, use some (at least three) shorter lengths of rod. These can be freshly cut, or soaked. Massage the butt end to make it a bit flexible. As with baskets, avoid kinks. A living willow structure will not “live” past a kink.
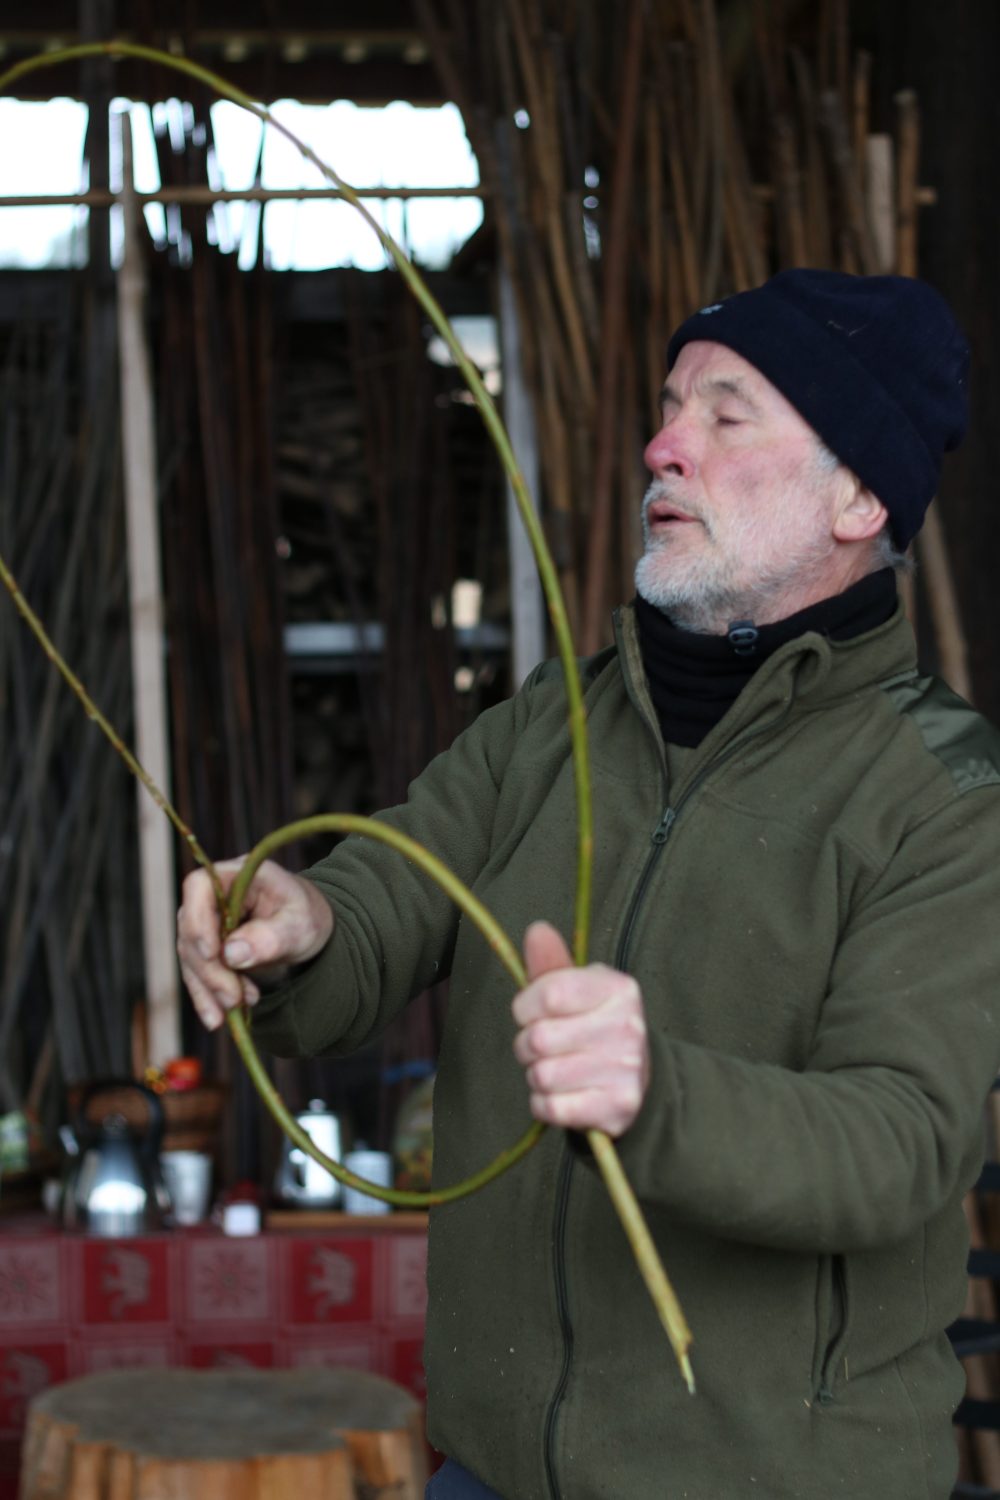
Thread through the end
Form a fish
The first step with a circle is to form the butt end into a fish shape. Wedge this against your chest, and weave the tip around and around the circle that is formed. Always initiate this winding from the tip end.
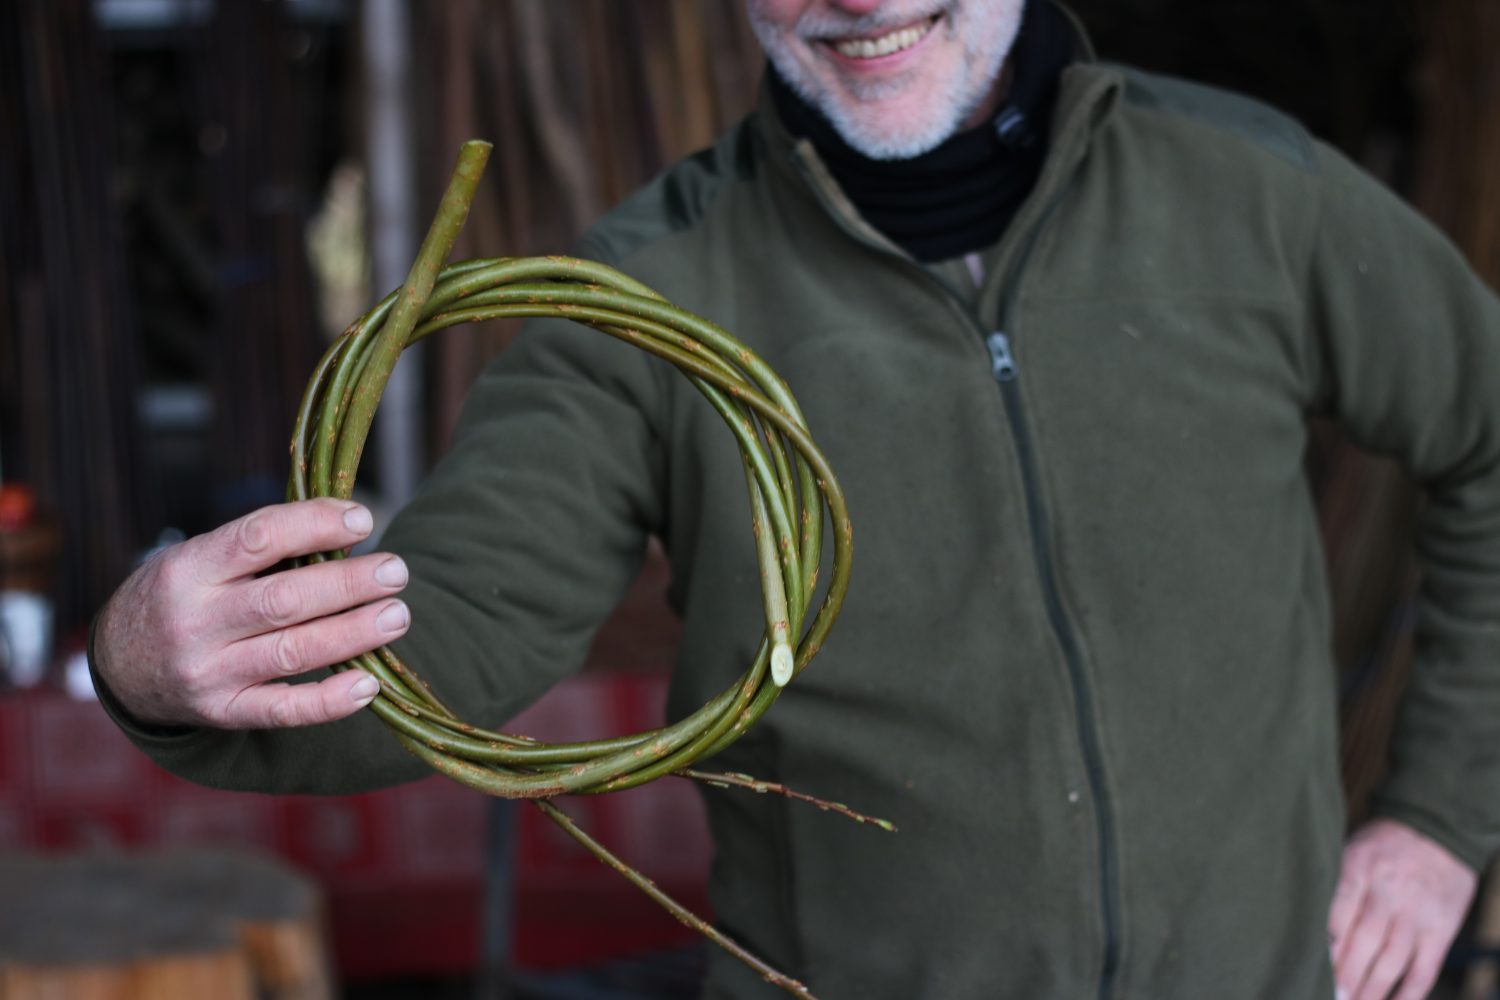
Butt of new rod spaced away from first
Add a rod
Wind the first rod around the ring until it ends, and then massage another rod. Offset the butt end of the new rod around the ring. It’s best not to have all the butt ends together, so lay the butt ends together first, and then move it about a third of the way around the ring.
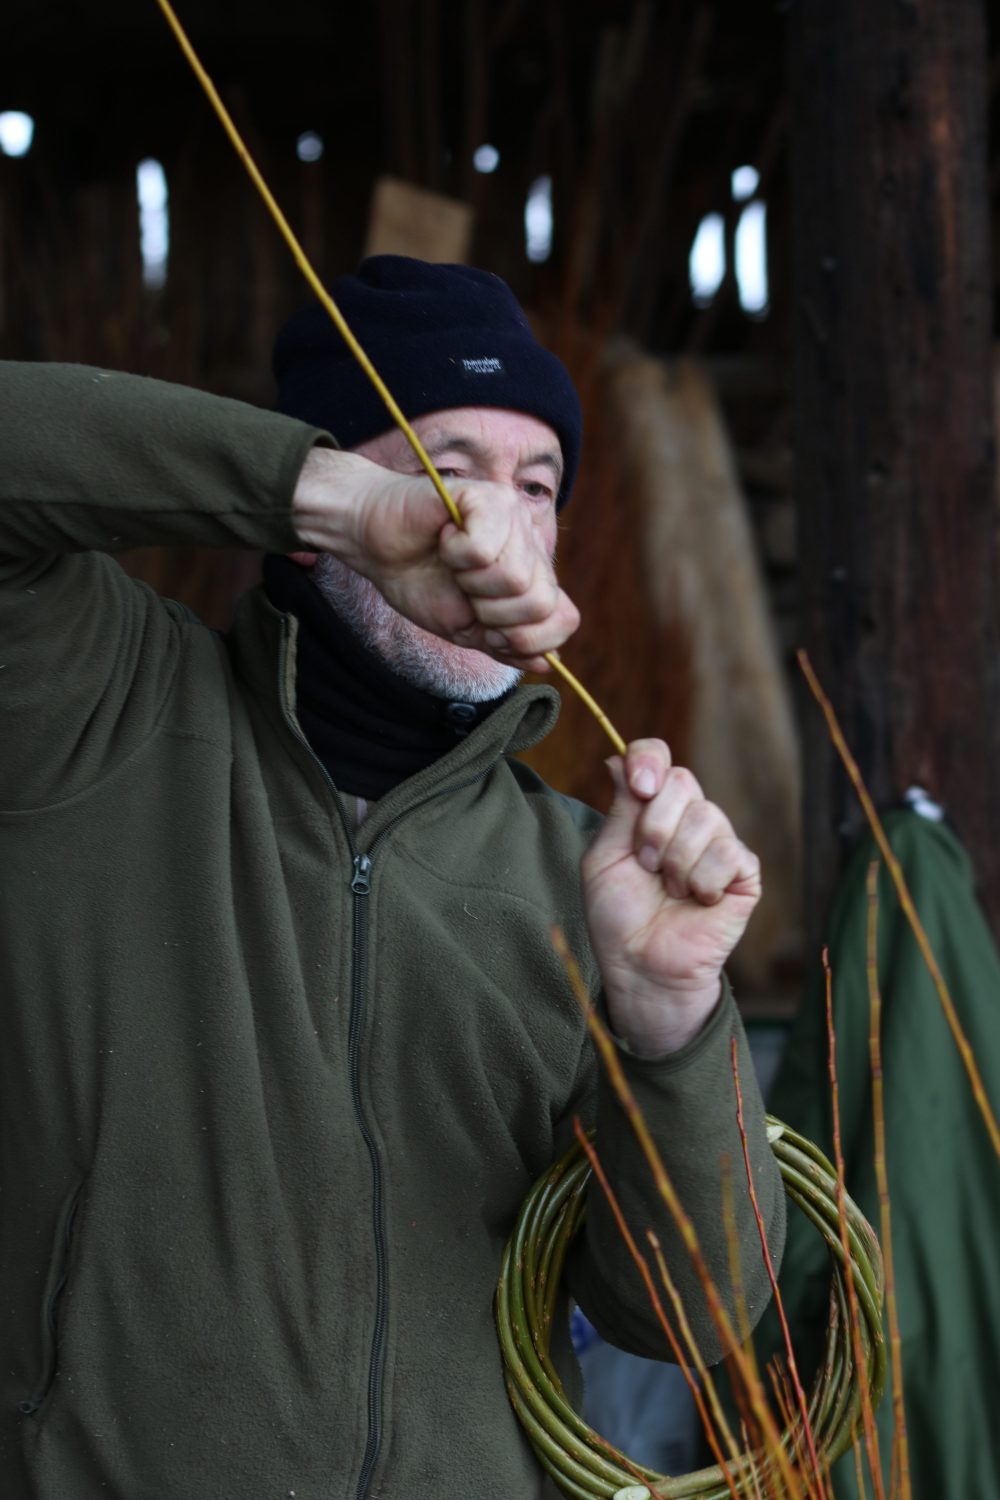
Twist the rod until it cracks
Lash it in
Keep adding new rods until the willow tells you to finish – or until you’ve used at least three rods. Then it’s time to lash in. For this, use a thinner, more “basket grade” of rod, with a smaller pith. Twist this new rod – until you hear it crack. And then continue to twist up and down the length of the rod until all the fibres twist freely.
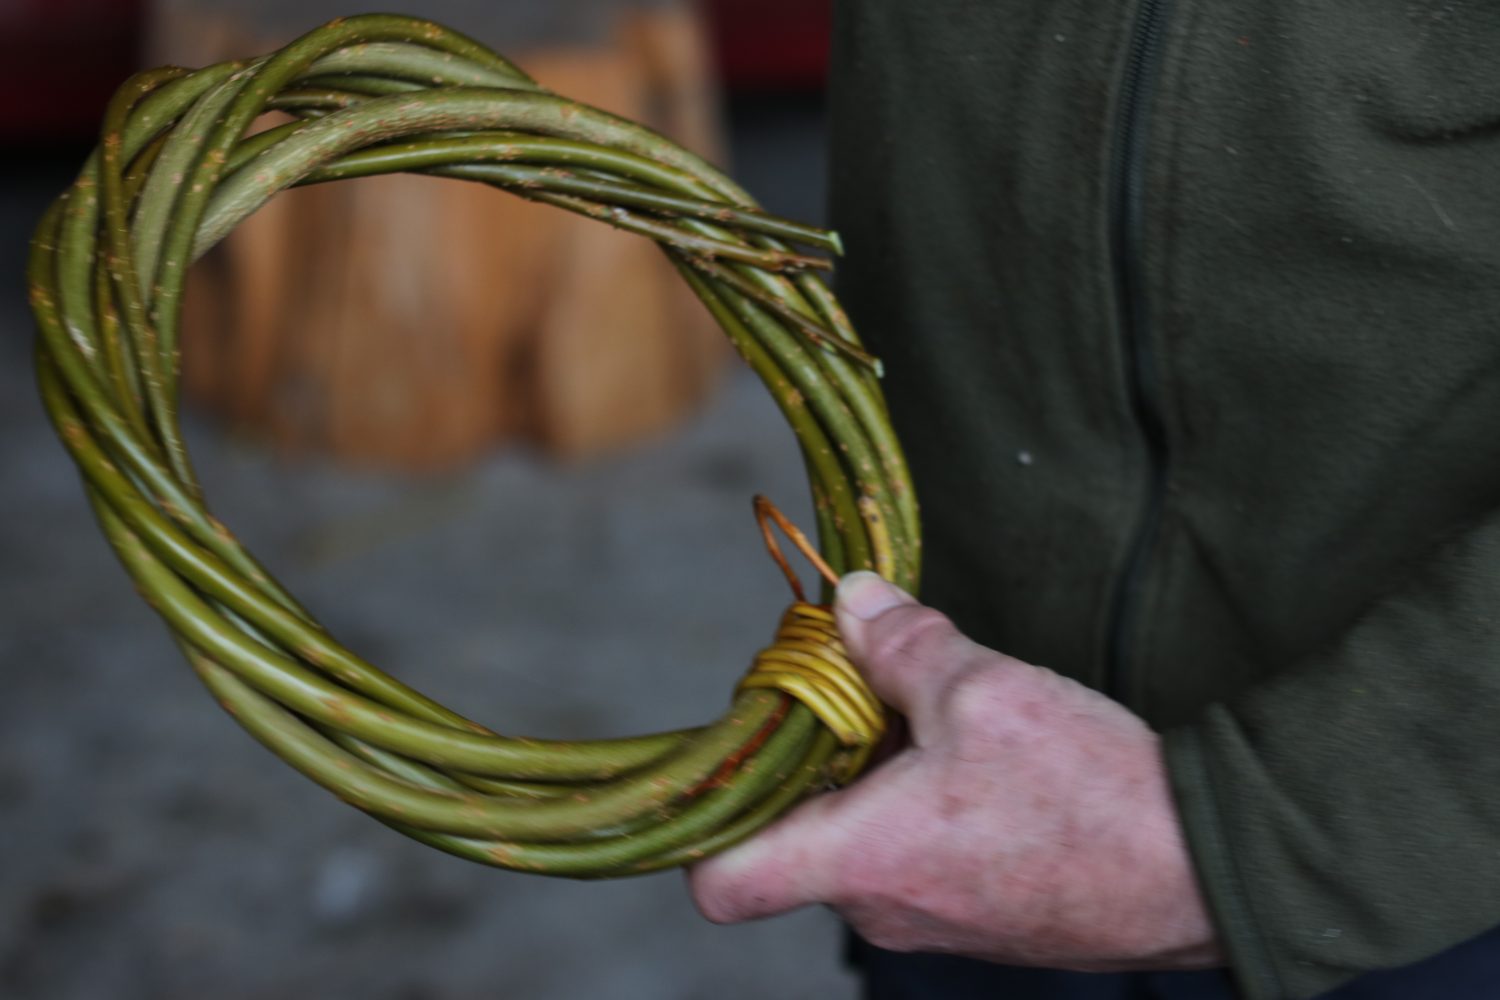
Lashing in
Align the butt end with the rods in the ring, and then make a 90 degree bend. Wrap the rest of the rod around the bent end and the ring – lashing it in. Once you reach the tip, thread it through a space under the lashing (you might need to use a bodkin for this, or a waste piece of willow butt), and pull it tight.
Making an arch, or a tunnel, or an igloo

Use the willow tool to make a hole
Use longer, chunky biomass willow to make an arch. Choose six rods of around 12 foot in length. Use the willow tool to make a hole in the ground. It’s worth checking first that the ground is soft enough to make holes in it.
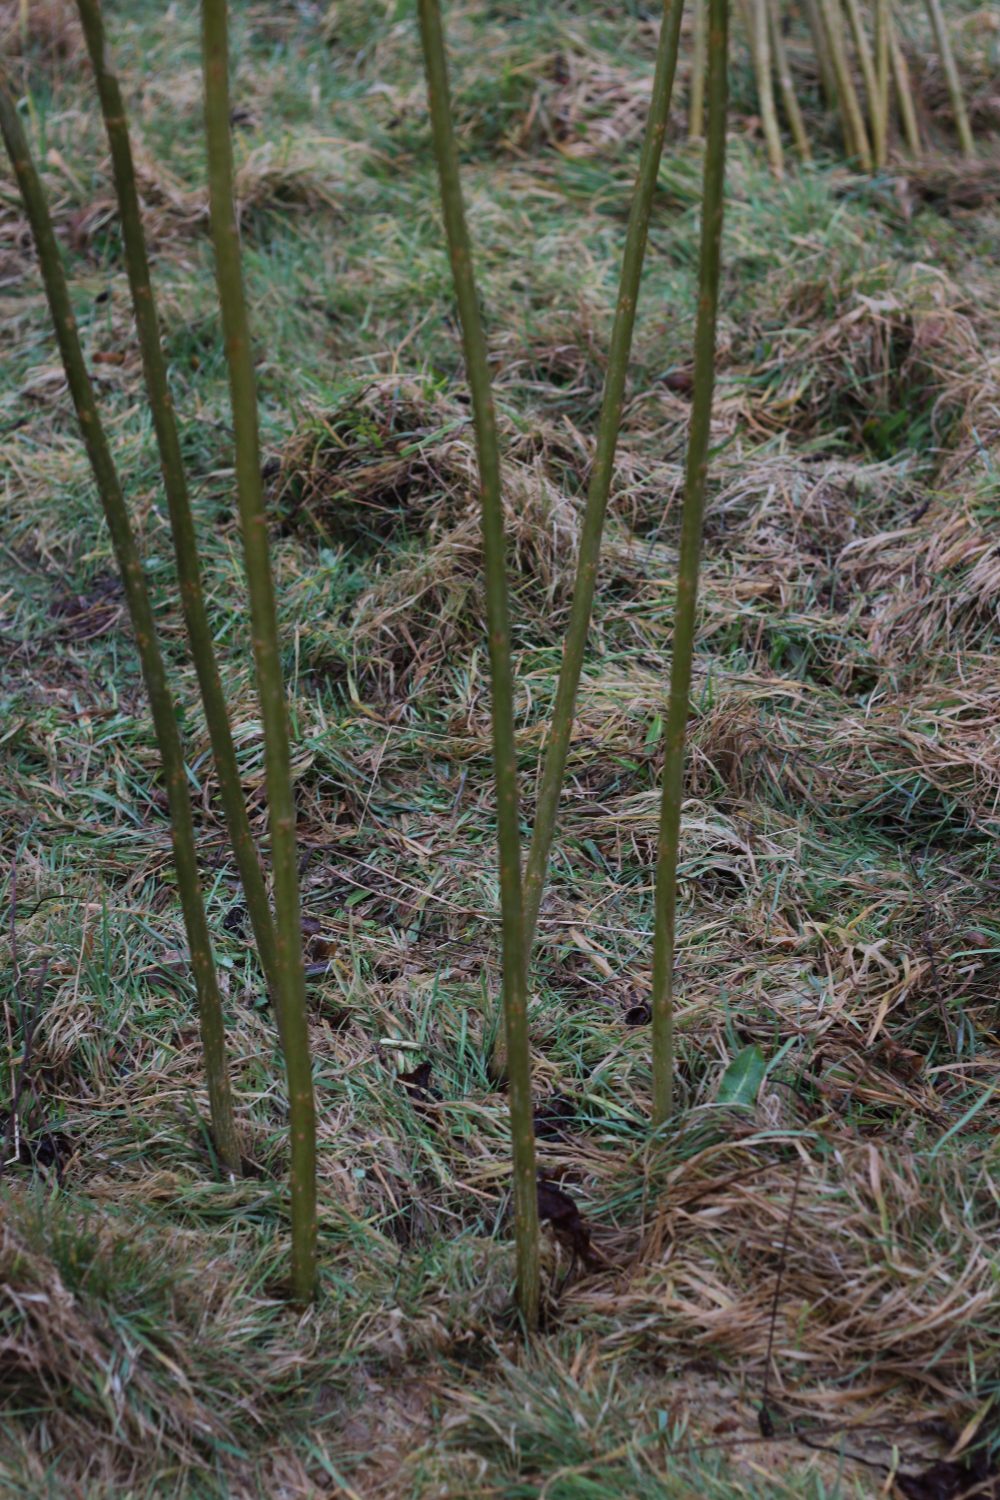
Six willow rods in a circle
Six holes in a circle
Make a series of six holes in a circle, around six inches apart. TIP: Place a rod into each hole as soon as the tool is taken out. It’s astonishingly easy to lose sight of the holes you’ve just made.

Twist the six rods
Twist the rods
Once the six rods are in the circle, make sure that they each are firmly pushed into the earth. They each need to be around eight inches deep. Plant another circle of six rods around five feet away. Then take each set of sticks, arrange each set into a spiral, and twist them together.
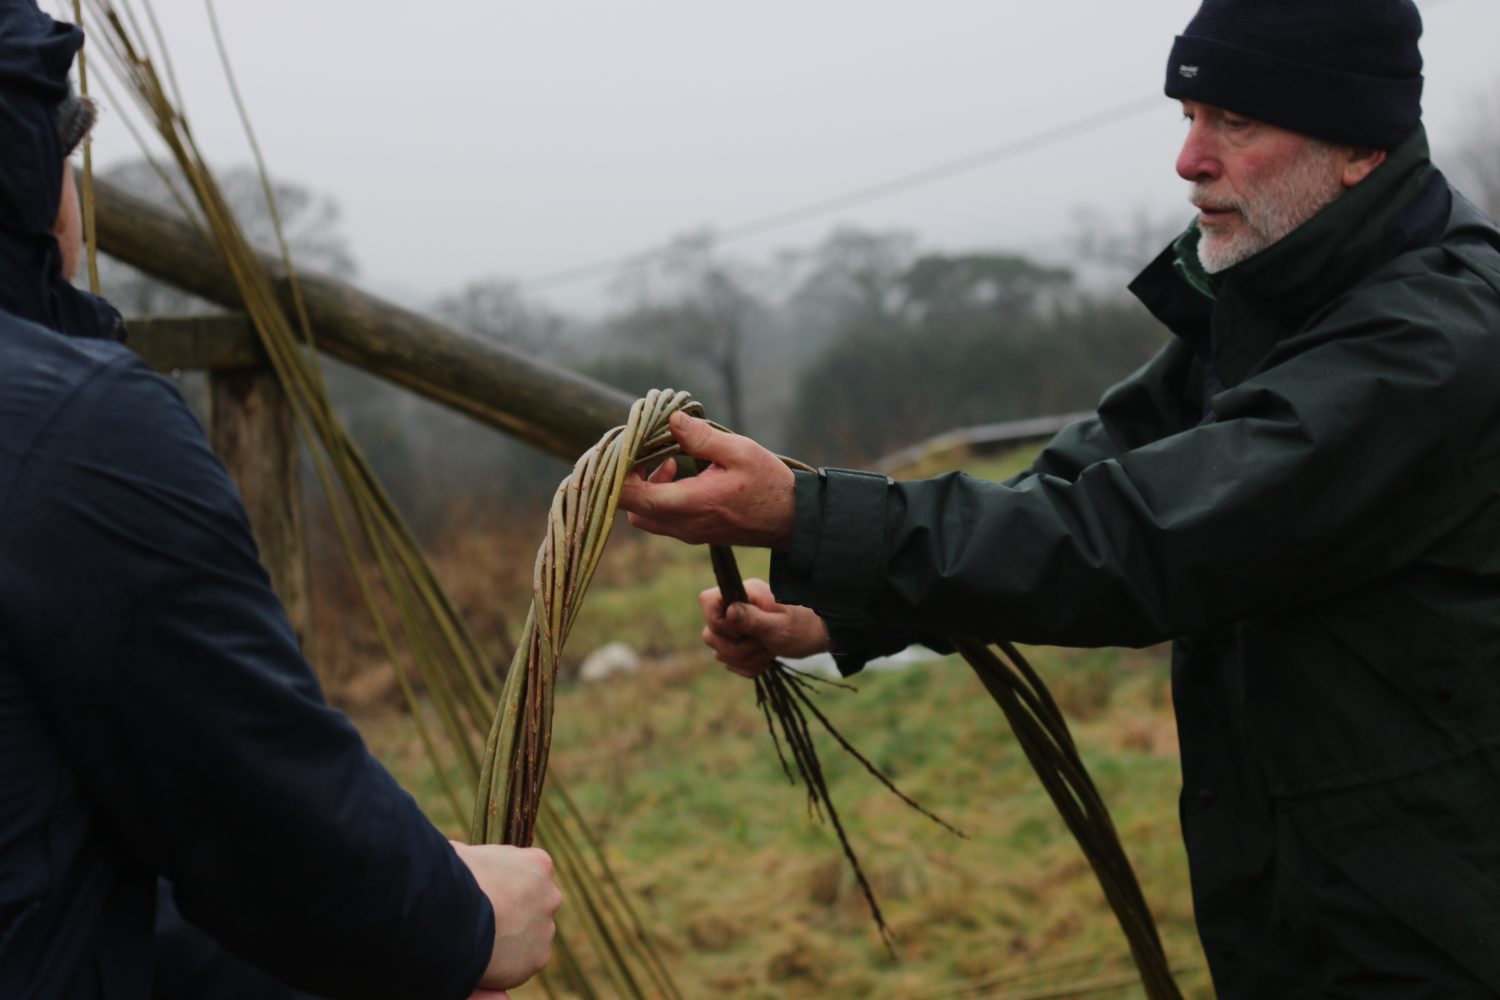
Twist the two sets into an arch
Form the arch
Move the twist up to the top of the rods, and then finally, hold the rods and walk around the sticks to finish the twist. Make sure that both sets of six are twisted in the same direction, and then bend the sets towards each other to make an arch. Wind the two sets around each other, and lash them together.
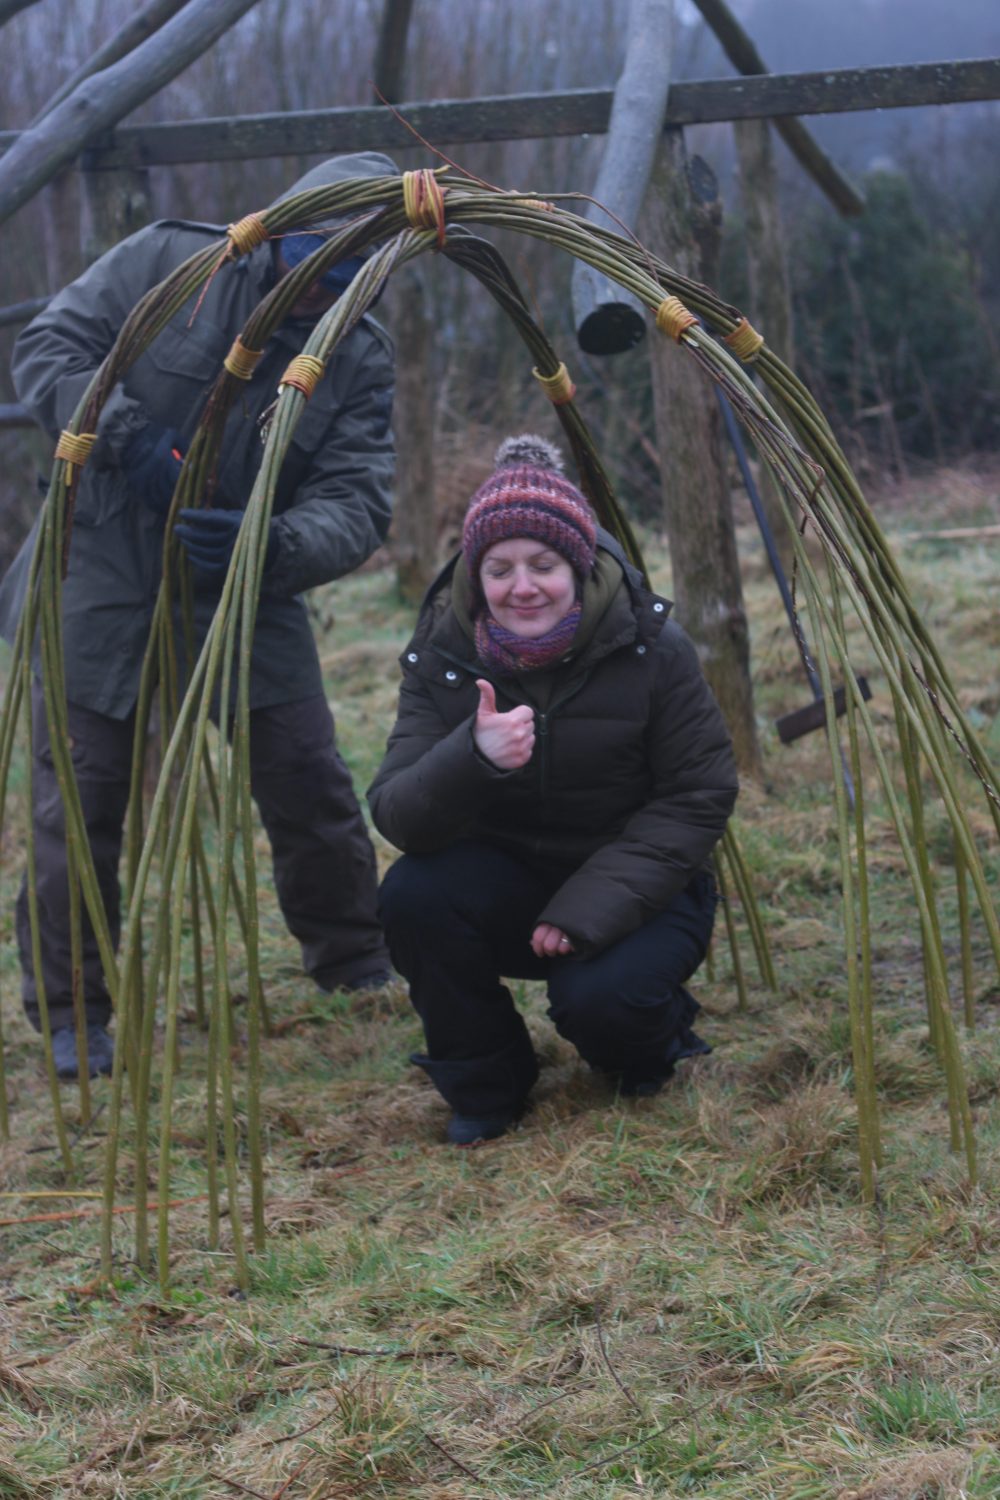
Make three arches
The arch can be used as the basis of a variety of structures. But on a cold, wet day, a shelter seemed like the best idea. We planted and twisted two more arches to make an igloo. It wasn’t too great at keeping out the wind, or the rain. More work required. Luckily there was a large, open barn to shelter in and work. There was also a lovely farmhouse with stoves and soup for lunch.
Making a hurdle – or at least starting to
Sheltering in the hay bales
On a dry, sunny day, or even on a dry, grey day, you might make a hurdle outside, placing your upright rods into the earth. On a cold, windy day with rain driving through, you might instead choose to stay under cover, and use hay bales as the anchor point for your uprights.
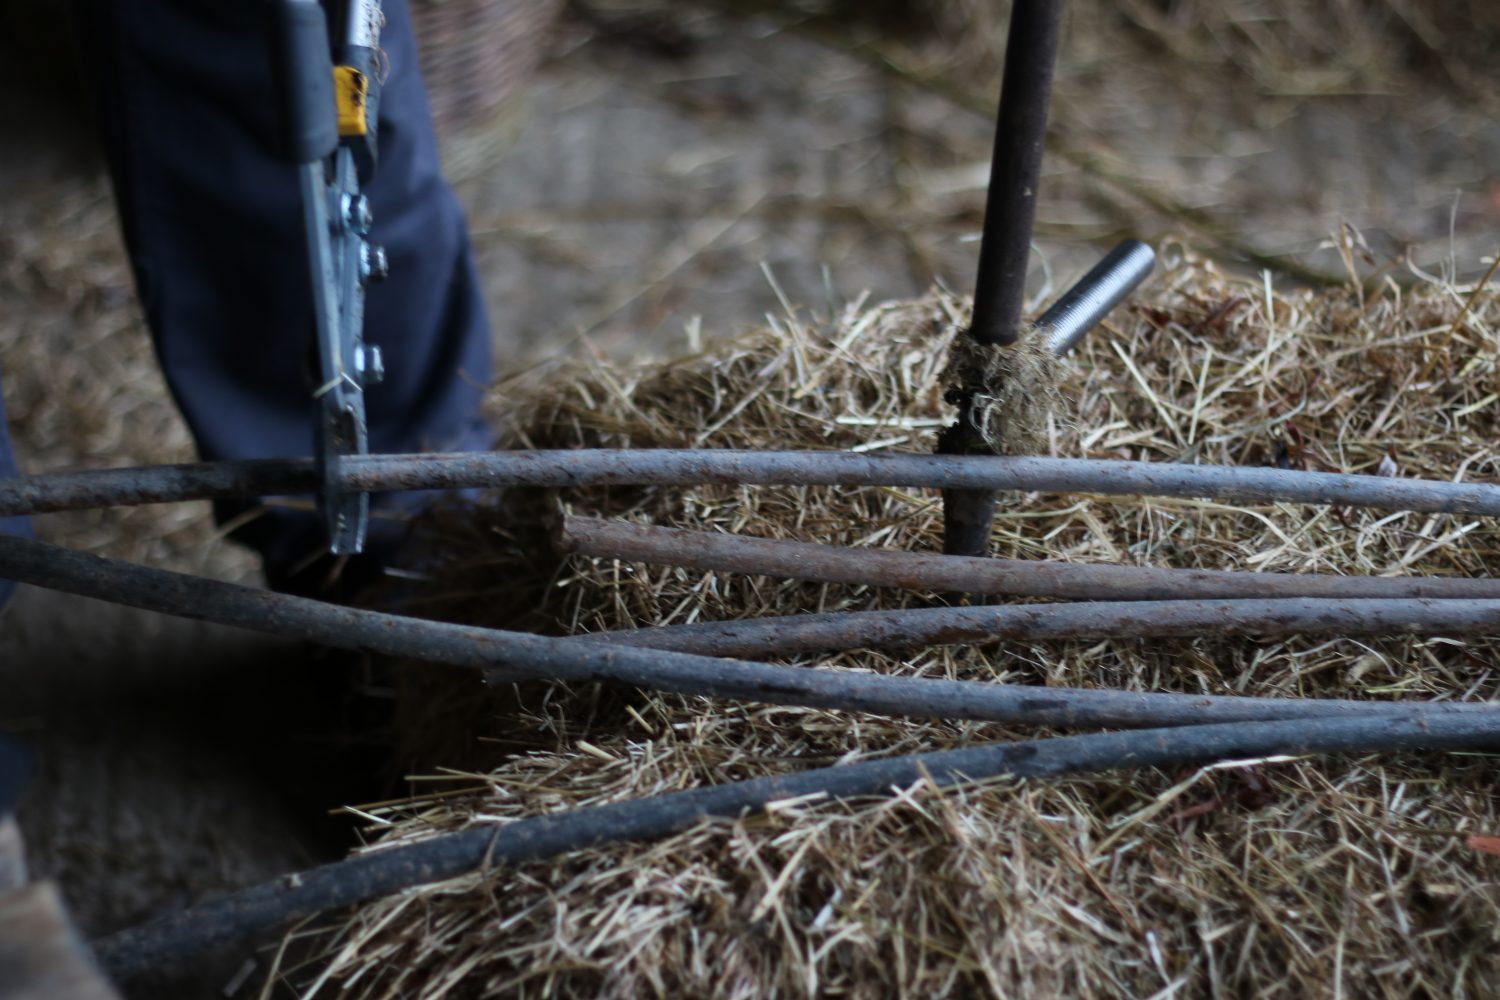
Trimming the ends
Plant the verticals
Trim the butt ends off at least five dry, straight sticks, and use the willow tool to make a series of holes to plant them in, The holes should be in a straight line, around a foot apart. With “whippier” willow (for weaving), the verticals can be placed a little closer together.

Paired weave
Paired weave
Choose two rods for weaving. Cut off any side branches and then make a paired weave. A paired weave is where the two rods come out of adjacent gaps between the verticals (same as last week) on the same side of the hurdle. These rods start from an end each time (rather than a continuous weave around a basket). Start the rods off around the first two uprights. Begin the weave so that the rods spiral around each other as they weave between the verticals. Weave the trailing rod into the next gap. Repeat this paired weave with the butt ends of the next two rods starting at the opposite end of the hurdle.

Tying in the ends
Tie in
“Tie in” the end verticals after two sets of paired weave (four rods). Take two long rods, and measure the length of the hurdle. Twist the rod to break the fibres, and then use your thumbs to make a u-shaped bend. Place this bend around the vertical at one end of the hurdle, and weave the rods in. Bend the other rod in the same way, and use it to tie in the vertical at the opposite end.

Half a hurdle
Randing
Continue the hurdle either with more paired weave, or with “randing” – this is just separate rods woven around the verticals. Tie the ends in every eight to ten rods (or more if you’re using thinner weave rods).

Recent Comments