
Shrink box postponement!
Maurice decided on a change to the original schedule. So, instead of making a shrink box today – I’ve been wanting to learn to make one for AGES – we started on a maul, knockers and a chopping block. Now, I’ve got nothing against these useful tools, but they’re not shrink boxes! I’m really hoping that Maurice can fit these back into the schedule later on.
These are some of John Mullaney’s shrink pots. You can follow him on Instagram (@jmullaney33). Aren’t they amazing? Who wouldn’t want to know how to make these??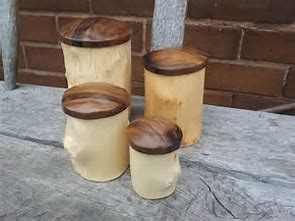
A Maul, Knockers and a Chopping Block
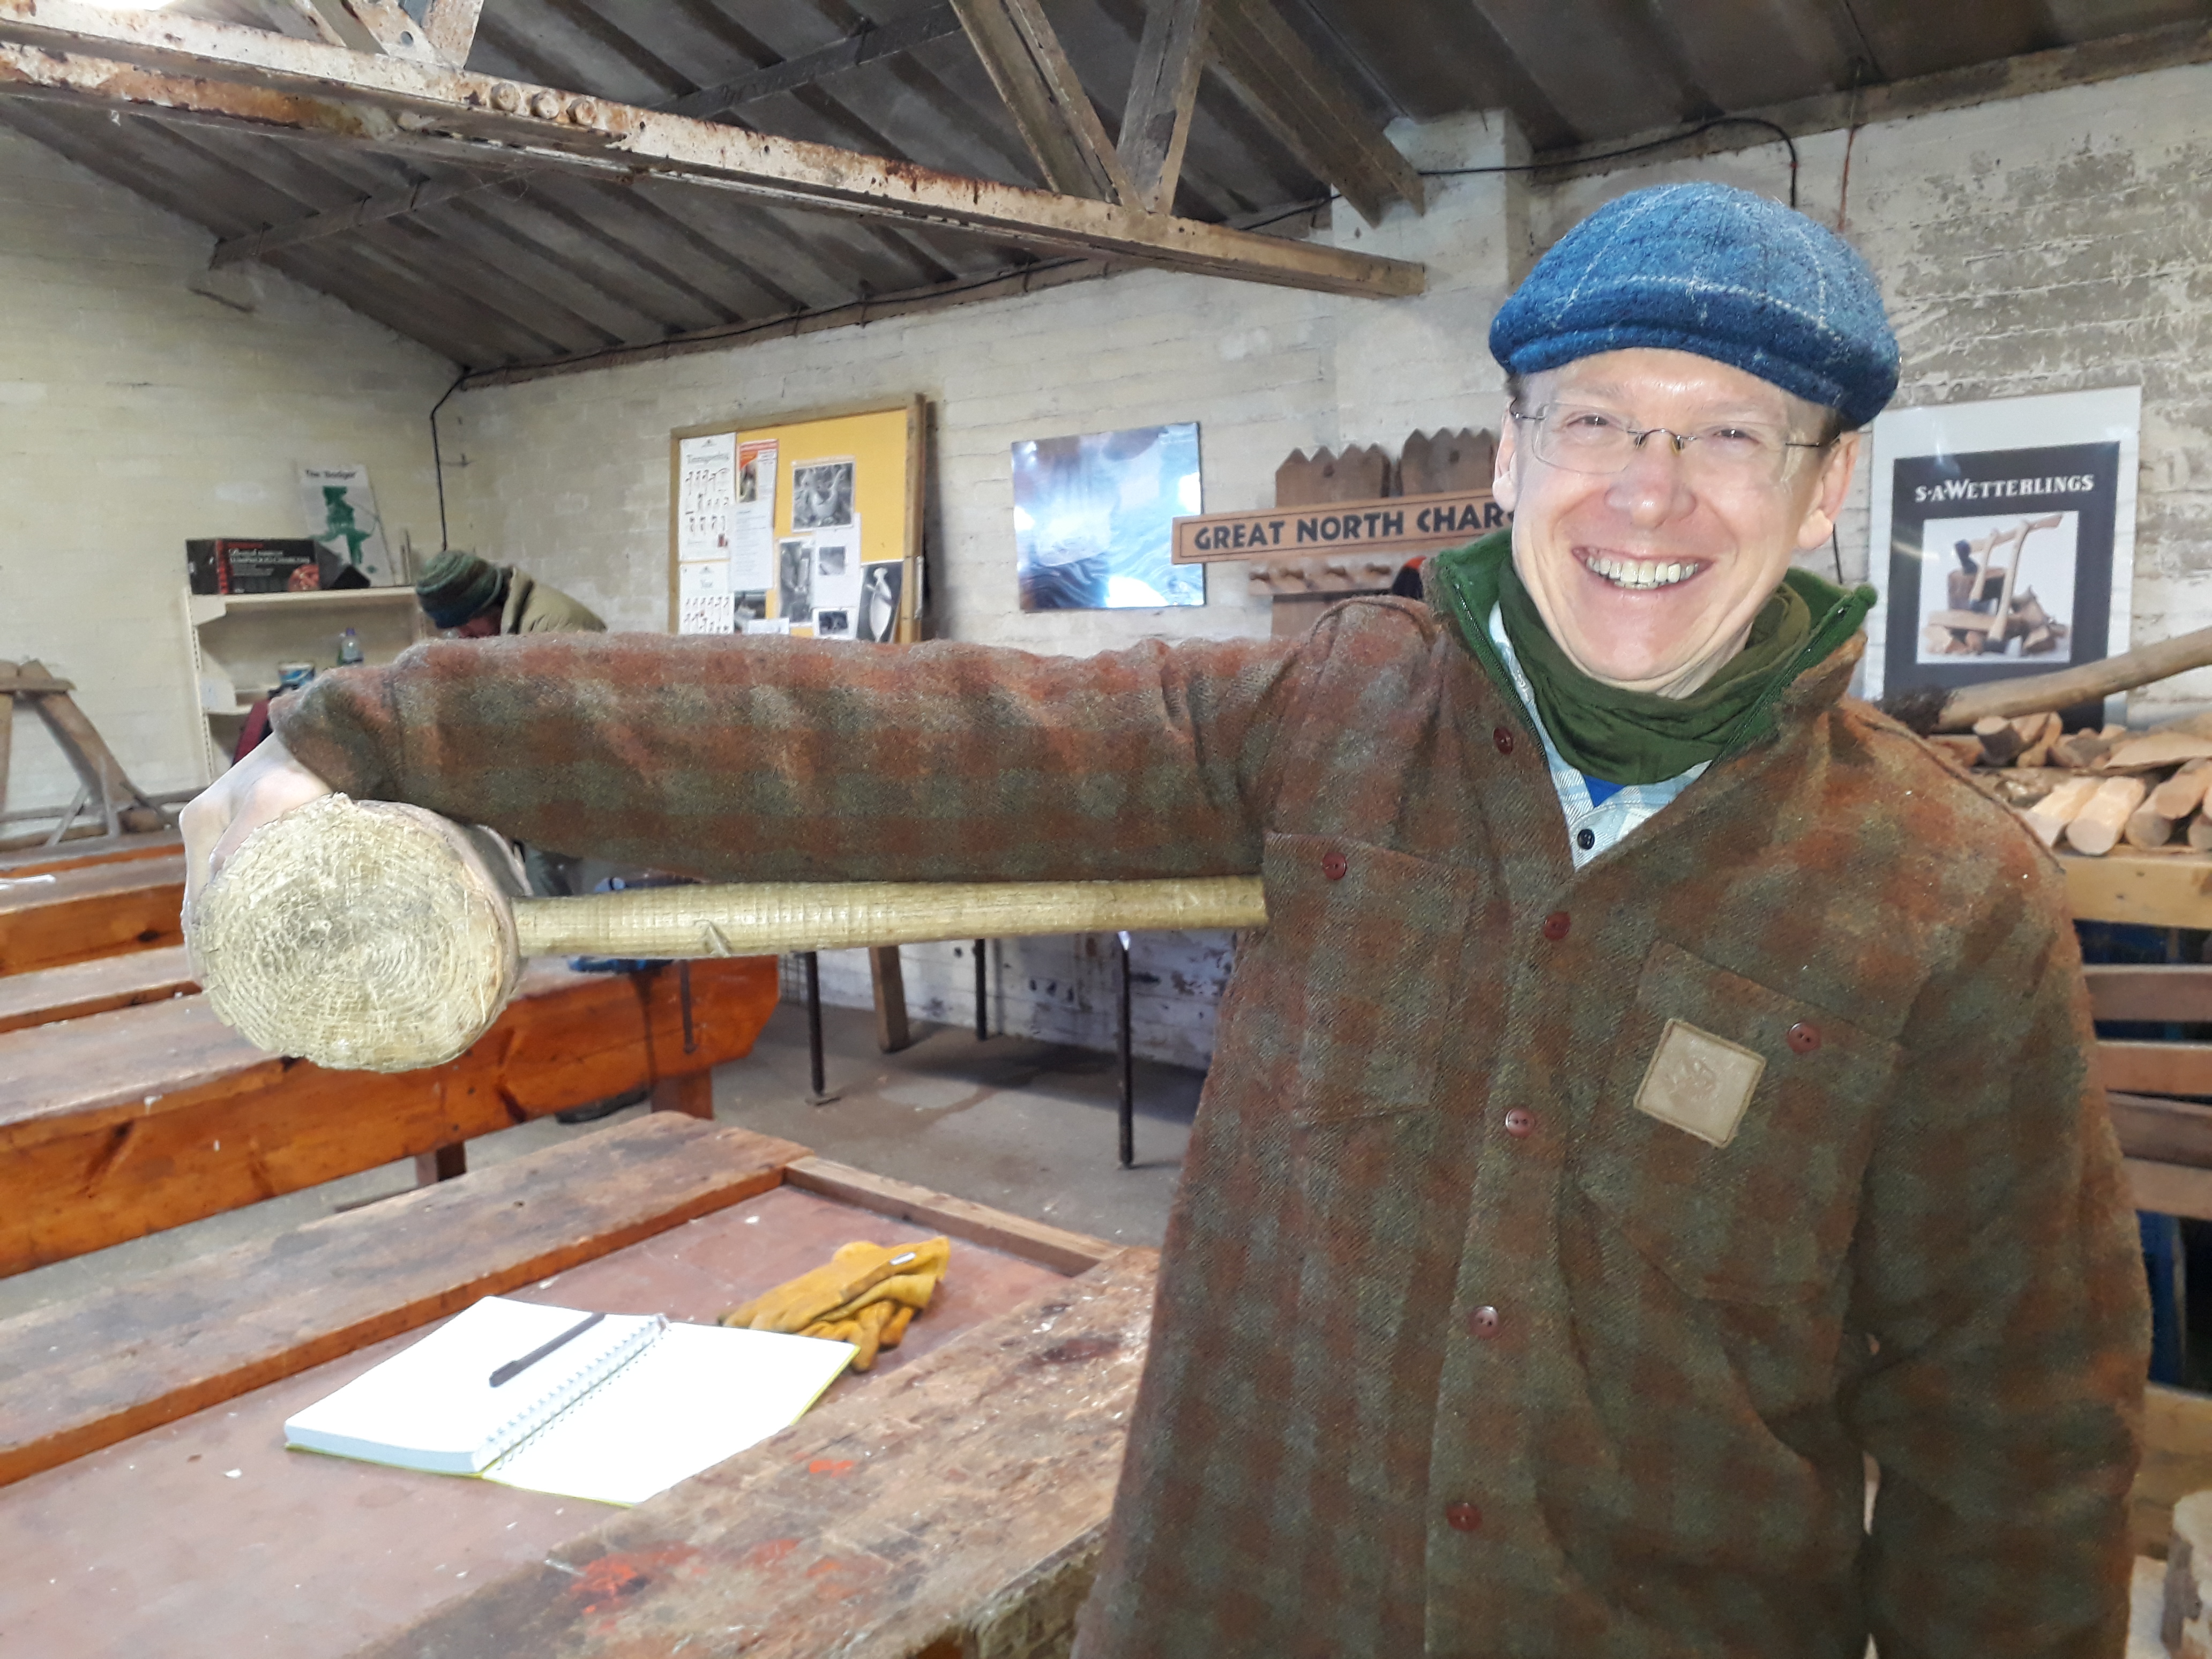
How to measure a maul
We started by finding pieces of dryish ash that would be good for maul handles. There’s so much to talk about, that it took a bit of time before we got started… How dry is dry? How wet is wet? Always split through the pith… except for when you don’t.

Shaping a billet on the shavehorse
Shavehorse
After we’d measured the ash, and selected some, we acquainted ourselves with the froe and axe. Then we shaped the billets, using the shave horses. Luckily Maurice has quite a paddock of these creatures.
Pole lathe
The pole lathe was the next animal to become acquainted with. It’s interesting to observe how the brain assimilates acquiring motor skills. To me, it seems that pole lathe use is the greenwood equivalent of patting your head and rubbing your tummy. While co-ordinating the rhythmic action of stepping on the pole lever, you also have to manage the engagement and disengagement of the cutting tool. Ideally, at the same time, the angle of the cutting tool is correct, and there’s some sort of lateral motion. As pleasurable as all this is in itself, it’s also useful if there’s some progression of the cutting operation towards a final shape. As such, it’s a fine example of motor skill acquisition.

Shaping a spindle
I first encountered a pole lathe about 18 months ago. At the time, the co-ordination of all the different actions seemed almost impossible. I’d hit the rhythm for about 1 second, and then everything would fall apart. Although I’ve not really touched a pole lathe in the intervening period (ok, I did once, for about 1 minute), it all did seem much more manageable this time around. Or at least I was able to maintain a rhythm for nearer 5 seconds before everything fell apart…
And that’s as far as the maul progressed! The handle is shaped and now it has to dry. A lot of green woodworking seems to be concerned with the relative dryness/wetness of woods; it’s important to be aware of these states as different components are assembled. So… for the maul, we’re going to be assembling a dry, round tenon (handle) into a wetter round mortice (in the hammer head piece). After the handle is assembled, the mortice (head) shrinks and deforms around the tenon (handle). This (along with glue, and a wedge) will keep it all assembled in one piece. So, we all took our handles home (having practiced swinging them like rounders bats). We’ll let them dry slowly for a bit before finally shaping the tenon on the pole lathe.
Knockers

Cutting a knocker to length
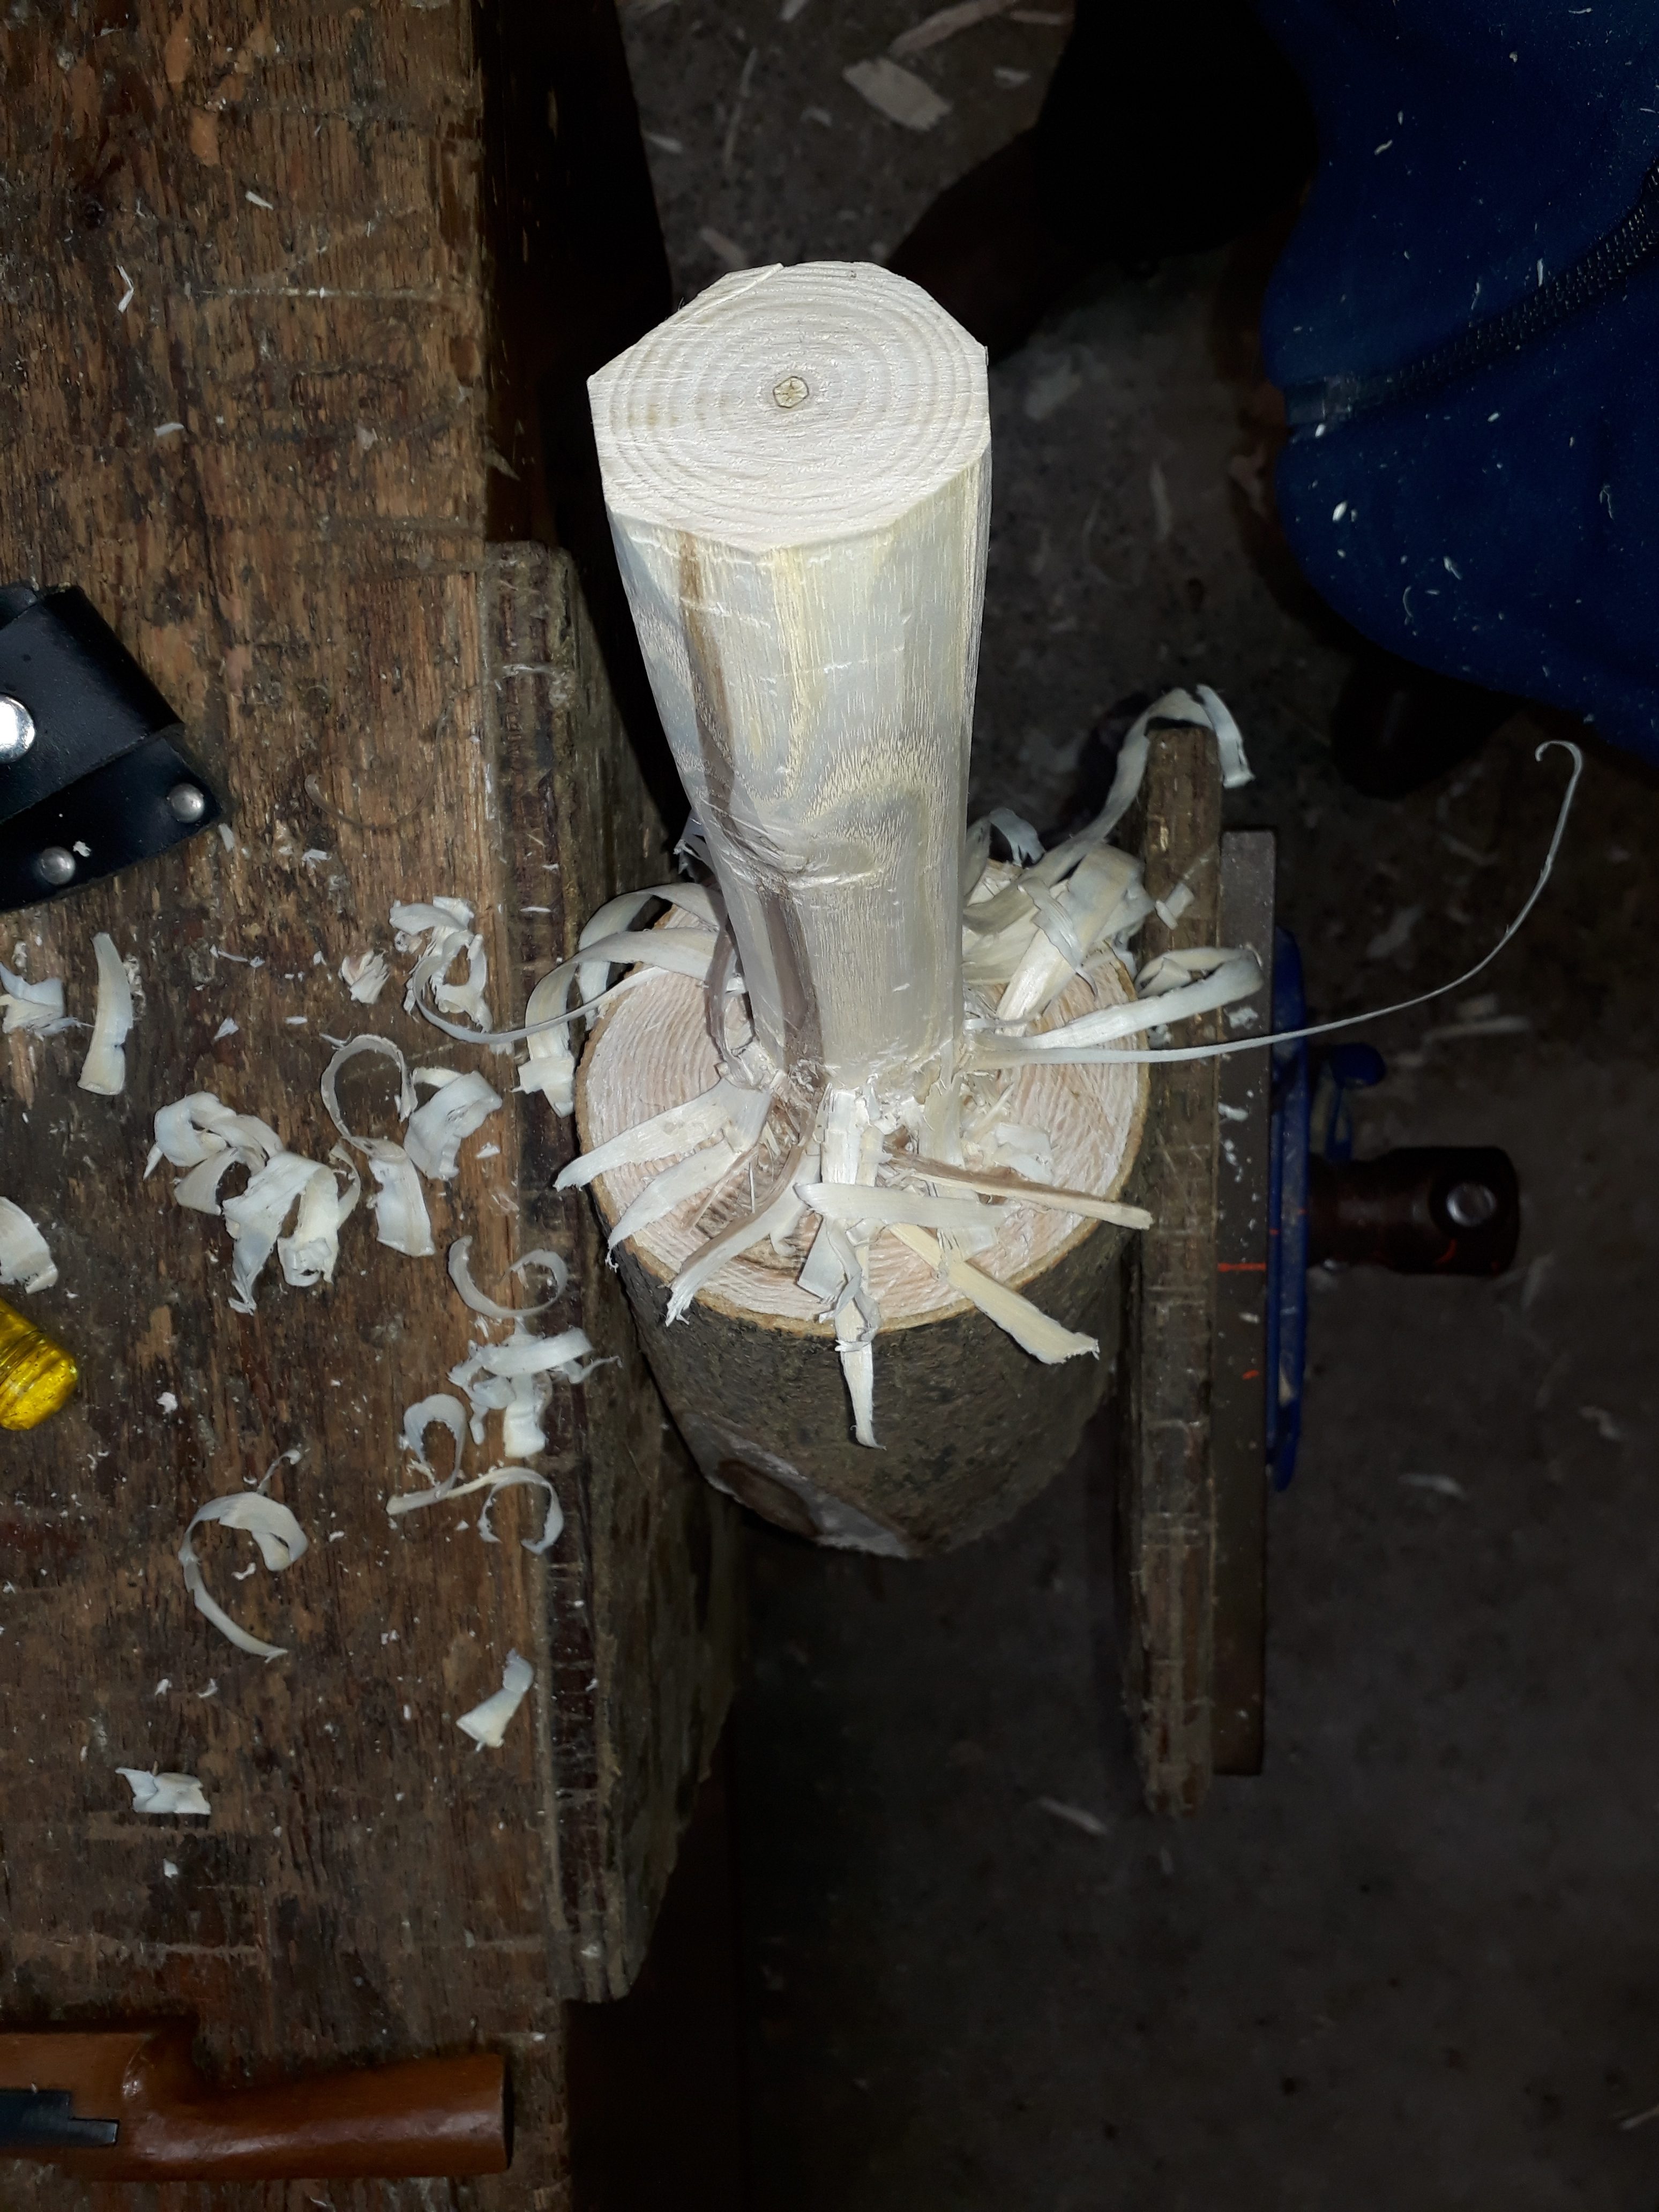
With the maul at a pause, we got to think about knockers. These are made out of a solid piece of wood. We mostly used ash, and did some nifty sawing around the circumference of a log to define the transition between the head and the handle. Then I cheated and got Maurice to use the chainsaw to cut the handle to length.
Shaping a knocker
A bit of axing down the handle is all it takes to magically shape a piece of log into a useful knocker. I found out what a spokeshave is, and smoothed the facets a bit, and then drew some blood with a chisel while doing a bit of finishing. Chamfers around the top and bottom of the head are optional…
And finally…
There was just time at the end of the day to select some ash to be the legs of a chopping block. Although I already have a chopping block, I want something fancier. I’d like a step on it, and a wedge cut out (for spoons), and maybe that it’s a good height to perch a bottom on. I cleaved the legs from a trunk of ash, and shaped them (roughly) on the shave horse. My homework is to get the ends shaped into tenons.
The final task of selecting a chopping block top, drilling the mortices and fitting the legs will happen sometime further along in the course. Along with the mythical shrink box!

Recent Comments