
Before I start, I do need to clarify two things:
- I can count. I called this blog post “Day 7” because I had to miss Days 5 and 6 of the course due to a prior commitment. This meant that I missed making a Shavehorse, but luckily I already have one.
- The reference to the T-Shirt was not in any way a comment on the temperature. Northumberland was as cold as you’d expect in February, and I was definitely wearing many layers of clothing, but no t-shirt.
Making Charcoal (6 foot kiln)
Charcoal making takes a long time. Preparing the wood, loading the kiln, controlling the burn, letting it cool, unloading and then grading takes a long time… It takes longer than the two days we’ve got on the course. The only way to make it all fit in is to sort of do it backwards. So, on the course, we do the burn first. Hopefully it’ll all become clear…
A full kiln
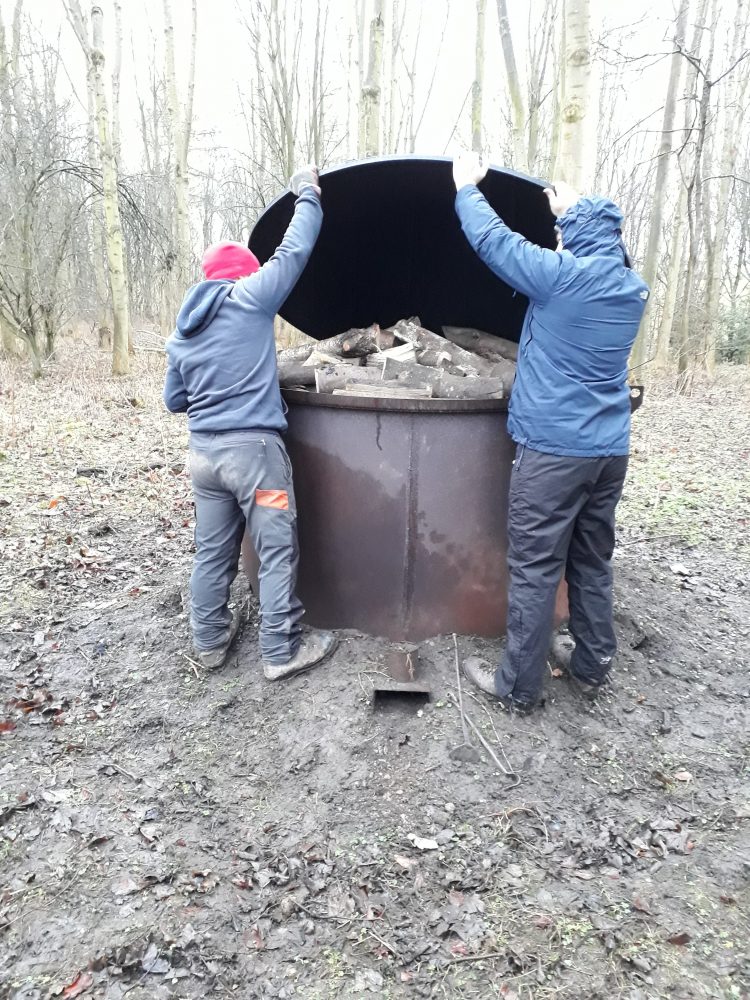
A full kiln (with a heavy lid)
We started with a 6 foot diameter charcoal ring kiln that was already filled with wood. To produce British charcoal, any hardwood except willow or poplar is used. Ideally, use winter-cut wood, and season it for around 6 months or more. Bristish charcoal is better than imported charcoal for a couple of reasons – it lights more quickly (say 10-15 minutes, rather than 30 minutes), and it’s made from sustainable hardwoods, rather than rainforest hardwoods.
Typically, a kiln will convert around 1/7th of the loaded wood (by weight) into charcoal. A 6 foot kiln will take around 1000kg of wood to fill, and will produce (if all goes well) 150kg. To maximise the output of the kiln, overfill it slightly – maybe by around 10%. This means that the lid doesn’t fit at first, but it settles to seal during the first phase while the kiln is getting up to temperature.
When burning with this type of kiln, the heat source is internal. (There is a type of kiln called a “retort” where the heat source is external). Part of the wood in the kiln burns completely to fuel the burn. This takes around 8-9 hours minimum. In an ideal world, the kiln burns evenly; it’s at the right temperature throughout (round 300 degrees), and it’s stopped just at the point before the charcoal itself starts burning. If all this is achieved, then the entire contents will convert into charcoal. If this doesn’t happen, and the burn is too hot, or stopped too late, then there’ll be more wood totally burned and turned into ash; and if it’s too cold, or stopped too soon, then then there will be partly made charcoal in the mix – “par char”, or “brown ends”.
Starting the burn

Clearing the ports
With the kiln full, our first task was to make sure that all the ports were clear of soil, and that the lighting port had a clear route to the centre of the kiln. There are six ports on this size of kiln, and they’re all the same. The lighting port is simply one that’s identified at the beginning of the process, before the kiln is filled, as the port through which the flame is going to be introduced. The base layer of wood is positioned so that there is a space running from the lighting port to the centre.
Clear the ports
We cleared the ports of soil using spades, rakes and scrapers. If the kiln has been sitting loaded for a bit, there is a chance that hedgehogs or other wildlife might have adopted the woodpile for a home. Other than feeling slightly concerned about this, there wasn’t much action we could take.
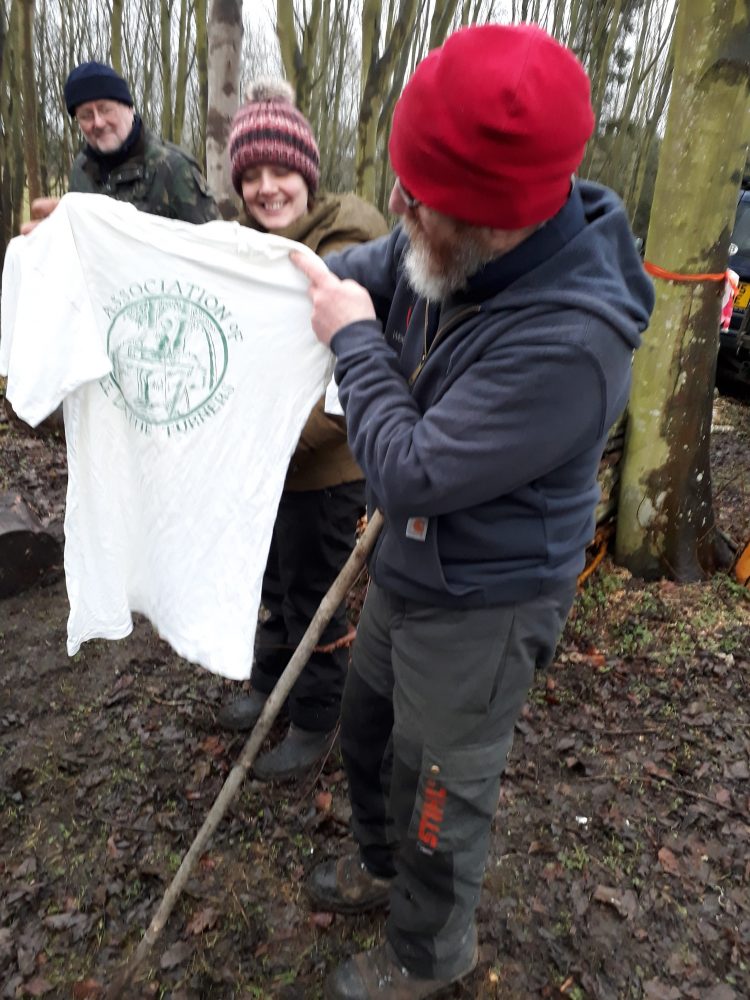
Find an appropriate t-shirt for sacrifice
Light up
To light a kiln, first find a t-shirt. Maurice had a very suitable old example that was duly ripped and tied around the end of a straight stick (it’s important that this stick is long enough to get to the centre of the kiln). The t-shirt was doused in an appropriate flammable fluid (NOT petrol), lit, and poked through the lighting port. A twist of the stick once in position promoted a good burn.
Once the kiln was lit, we propped the lid up with some bits of wood (plenty of these around). This increased the draught to the burn. If the kiln had been overfilled, this step wouldn’t have been necessary, as the excess wood would have lifted the lid.
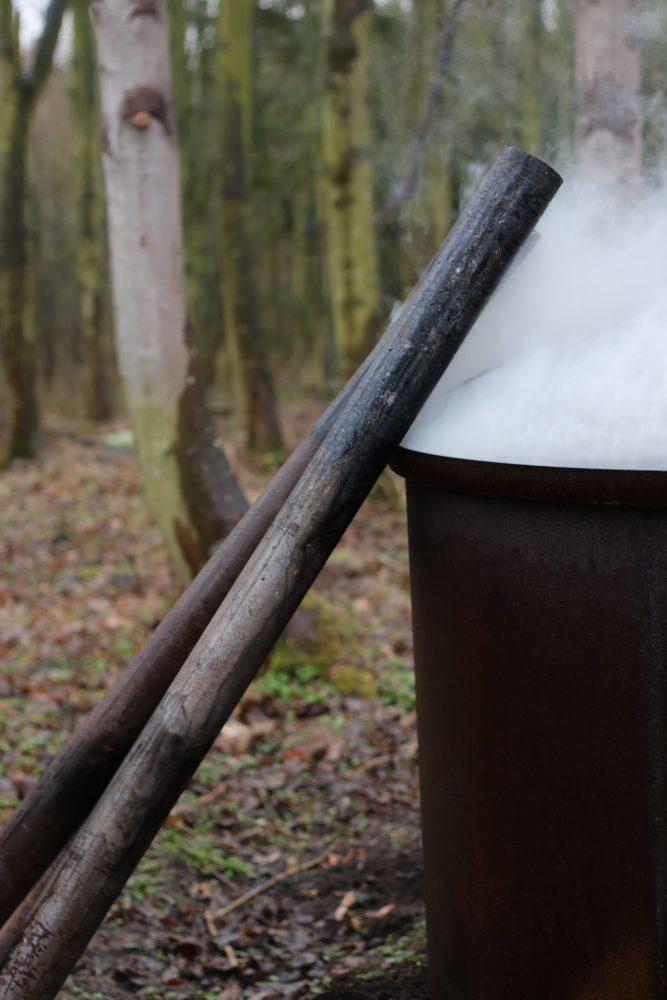
Vent pipes warming on an open kiln
We propped the vent pipes against the kiln to warm them up. These pipes are going to be used as chimneys later on. If they’ve been warmed (upside down), they’ll start their work as chimneys with a plug of warm air already inside them. This will rise, naturally, and the work of the chimney will be kick-started.

There’s a LOT of smoke
There are two more tasks to complete at this point. The first is to look at your watch. You will want to know when you started the burn, so try to remember what the time is now (09:39). The second task is to phone the fire brigade HQ and to let them know what you’re doing. The words “controlled burn” should put their minds at some kind of ease. It’s courteous also to let them know when the burn is over…
Putting a lid on it
Time passed…. The wood inside the kiln has to start burning, and the kiln has to get hot. With good ventilation (lid propped open, all ports clear) it takes about an hour for the kiln to get up to temperature. After about this long, the lid of the kiln will be hot enough that you can’t touch it for more than a millisecond. At this point, the kiln needs to be moved to the next stage – the controlled burn.
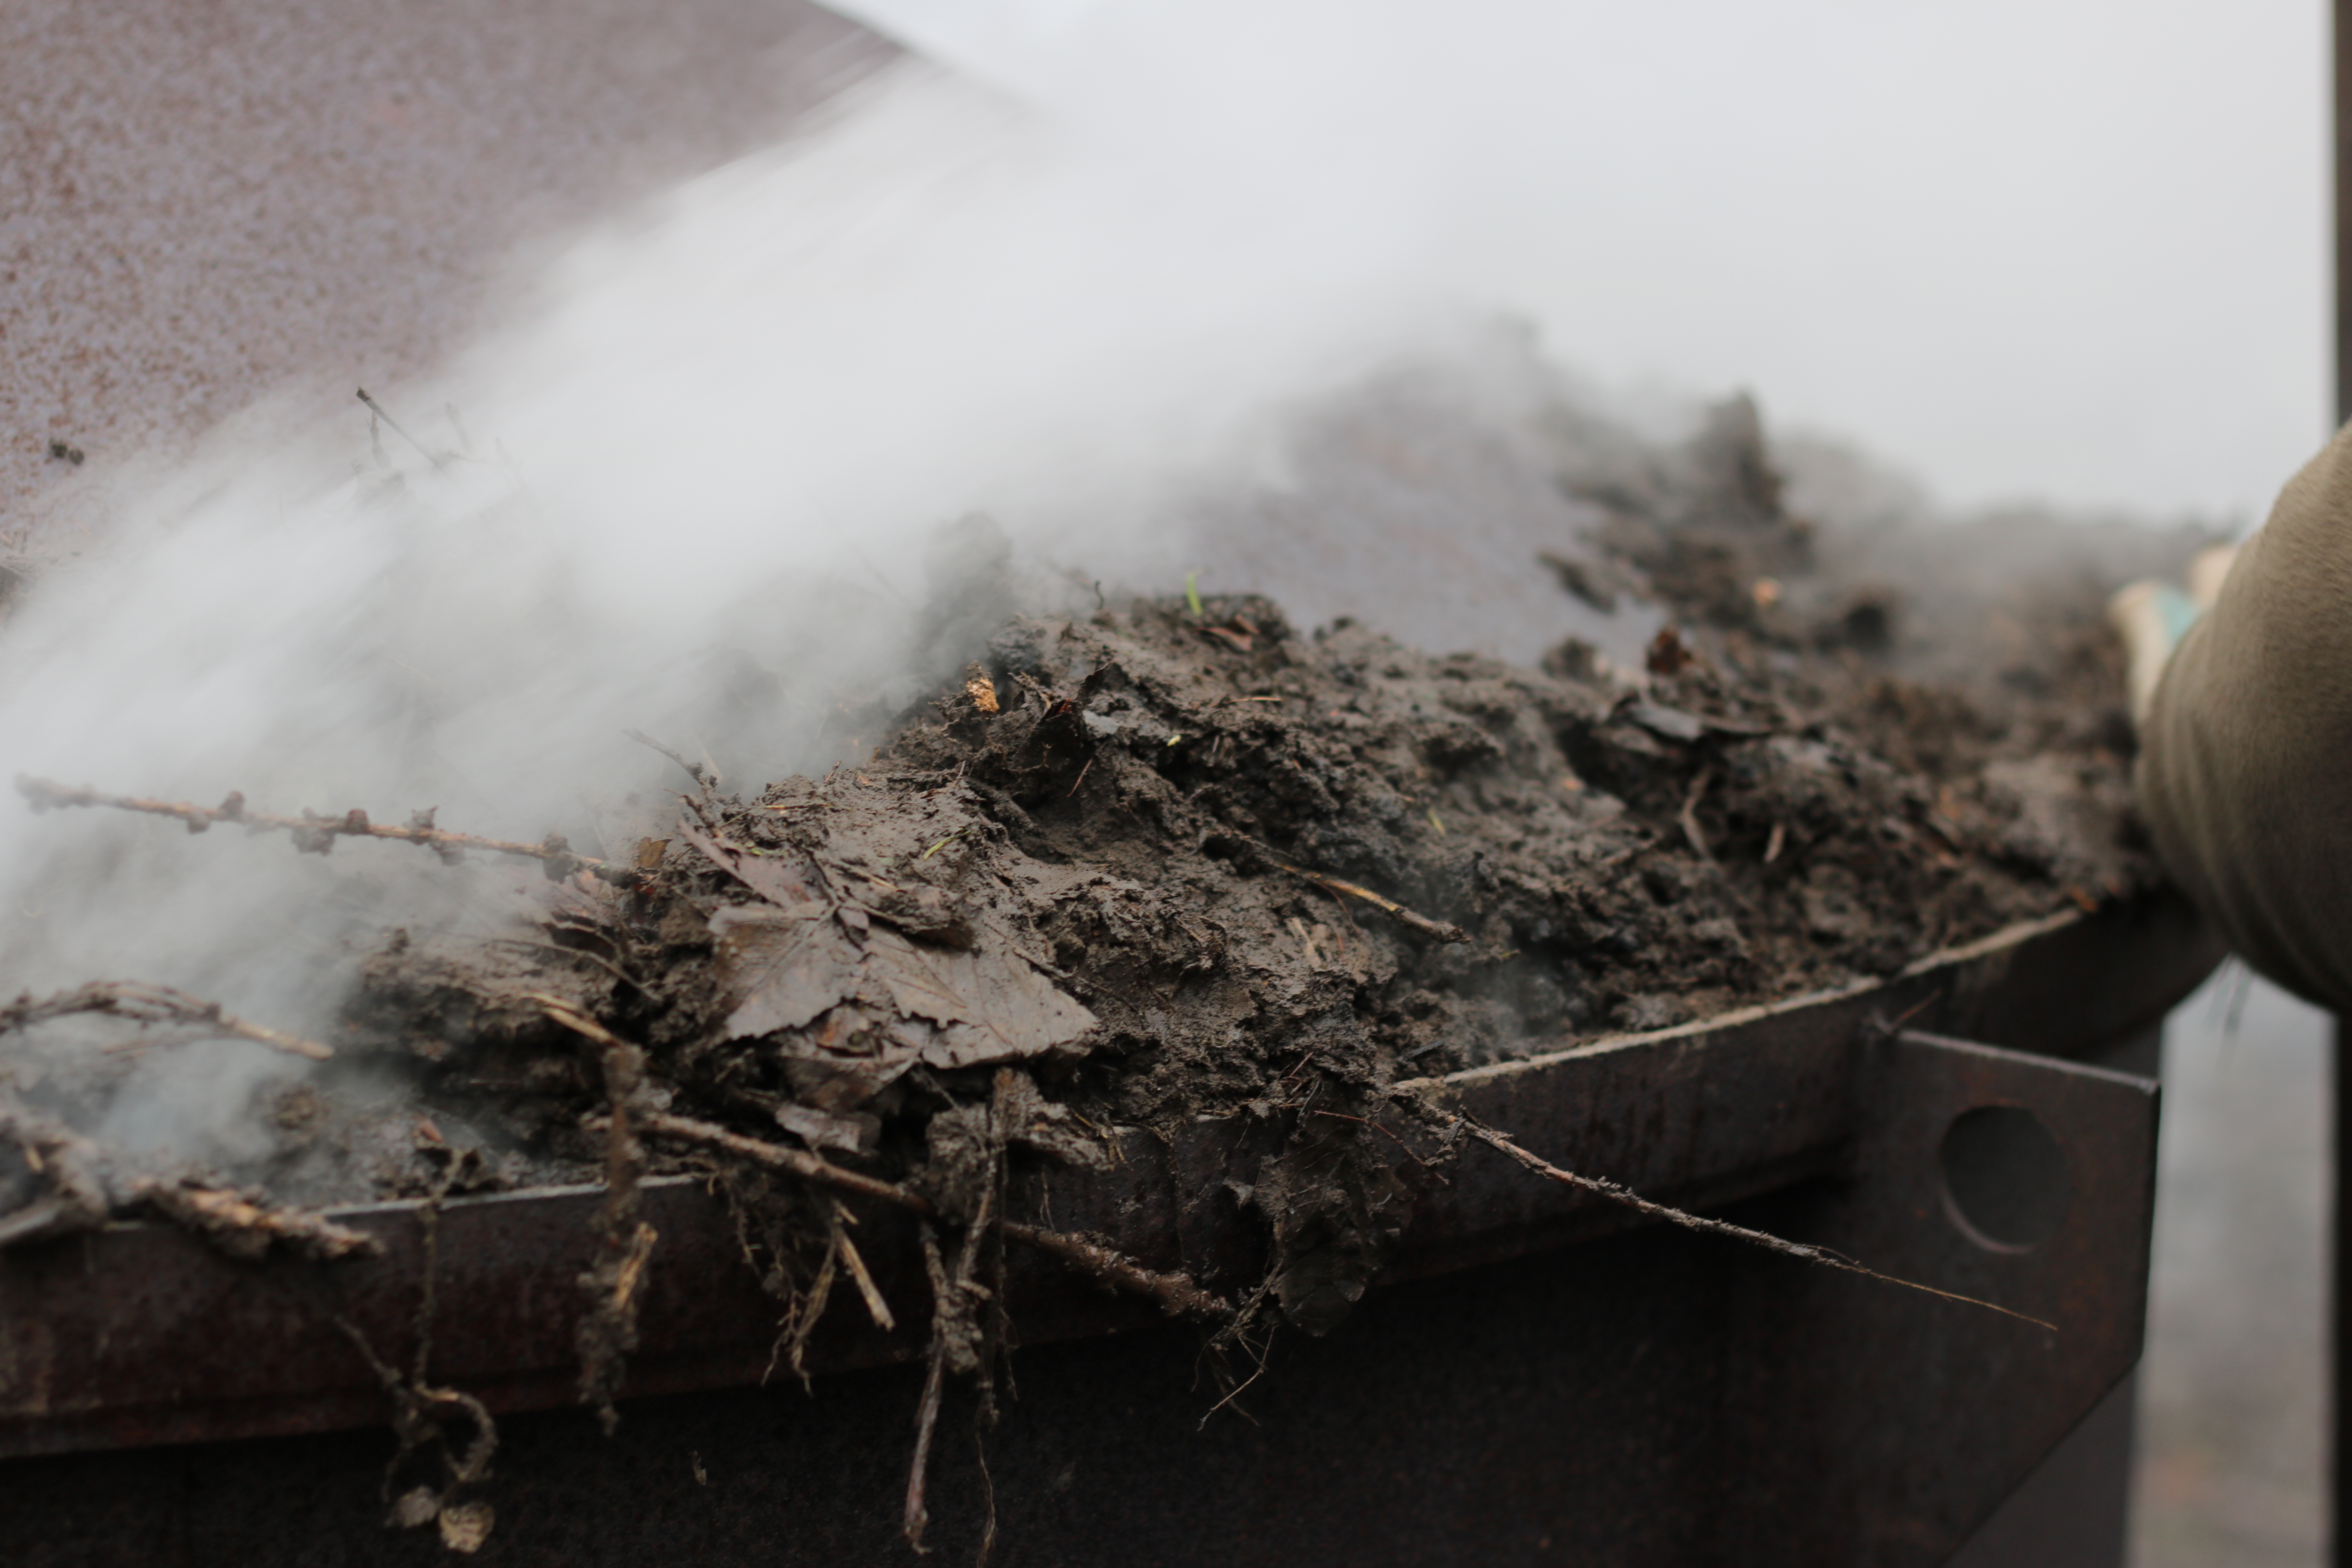
Lid sealed with loamy soil
Three of the ports (alternating) are chosen to be chimneys. On these, we put a brick front of the port, and shovelled soil around to seal. We put a pipe into the top to make a chimney. After these were done the lid was sealed with more soil. Ideally this will be loamy soil (not too clayey, or too sandy).
This is another point at which to check the time. We want the kiln to burn evenly over all the contents, but naturally, the ports that are vents (incoming air) will get hotter, and the chimneys will be cooler areas. Because of this, the vents and chimneys will be swapped over at regular intervals – say every hour.
Making Charcoal (Mini-kiln)

Mini kiln, ready to be filled
With an hour to kill before there’s much more to do on the big kiln, we started to set up the mini-kiln for a burn. This kiln is around 850mm. It takes around 140kg of wood to fill it, and will produce around 20kg of charcoal. We levelled the site for the kiln, and cleared it of turf.
The kiln ring was balanced the right way up (with the reinforced rim at the top) on four ports, evenly spaced. We didn’t jam the ports right up to the rim as then we wouldn’t have been able to fit the chimneys later. One of the ports was designated as the lighting port, and then we started filling the kiln with wood. We organised the bottom layer (of “joists”) to make sure that there was good access for the t-shirt torch. The pattern of these joists was a matter of much debates… “spokes of a wheel” or “noughts and crosses”?
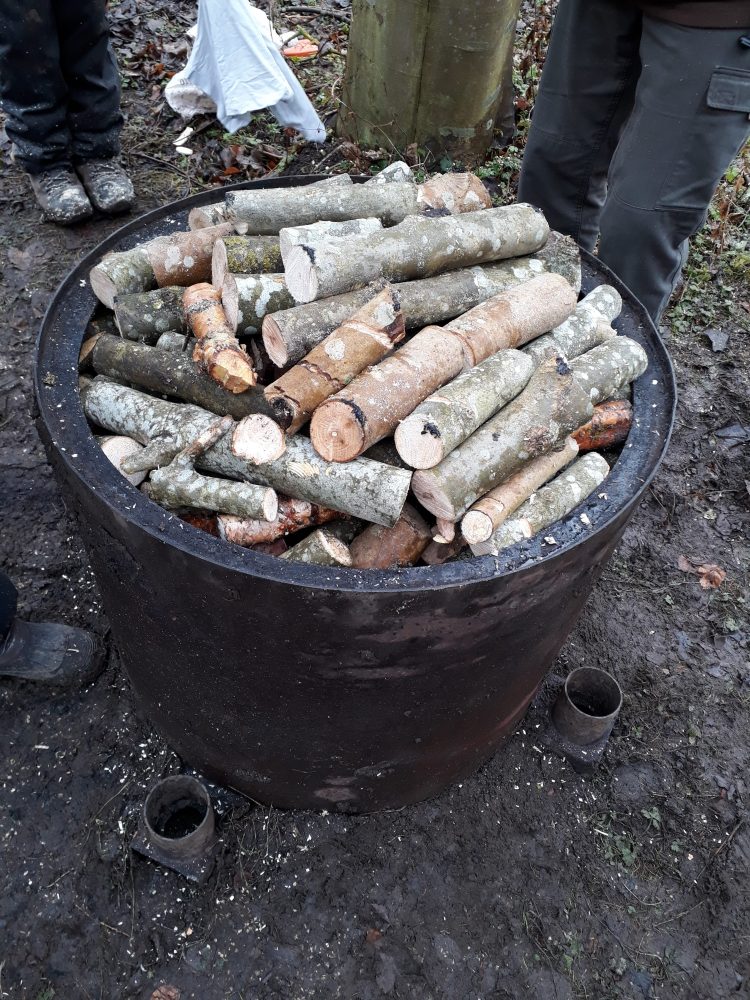
A full mini-kiln
To make sure that the wood started burning well, we layered drier ash, and some par char into the wood, concentrating up a central chimney, and also radiating out to the edges of the ring. In general it’s cooler at the edges, so we squeezed smaller pieces of wood in around the sides. We tried to cram in as much wood as possible.
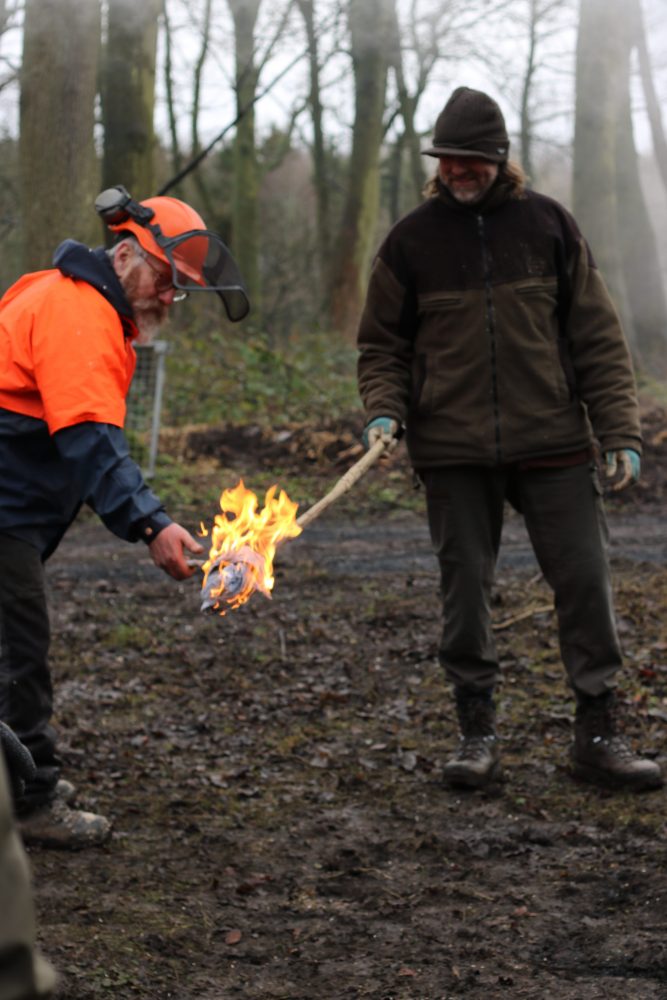
T-shirt aflame
Once we were ready to light, Maurice provided another t-shirt for sacrifice. Flammable liquid and lighter produced an ignition source. The lighting port performed its function. This time the lid didn’t need to be propped open, as the overfill ensured plenty of ventilation. Chimneys were propped to warm, and time was checked (10:59).
Killing time
The day was punctuated by periods of time (usually of around an hour) when either the kiln was lit and we were waiting to put the lid on, or in the intervals between repositioning the chimneys. Luckily, there was plenty to keep us busy.

Woodland feast
Food and drink
It’s hungry work, and we’d been up early. But Maurice had a Kelly kettle for supply of hot water, and Jacqui and Peter introduced their Muurikka for cooking on. With a tiny fire, we had a feast!
Splitting logs

Splitting axe work
Although the kilns put out some heat, they weren’t too effective at keeping us warm. Luckily there was wood to prepare for filling the big kiln tomorrow. Maurice cut lengths of 2 and 3 foot with the chainsaw, and we split these where necessary. In general, logs of 6″ and less are fine to be charcoaled without being split. The standard “hand gauge” can be used here: if the wood can be picked up by the end in a single hand, then it’s small enough to charcoal. We were using very green wood, so we split some wood that was smaller than that too.
Artists’ charcoal
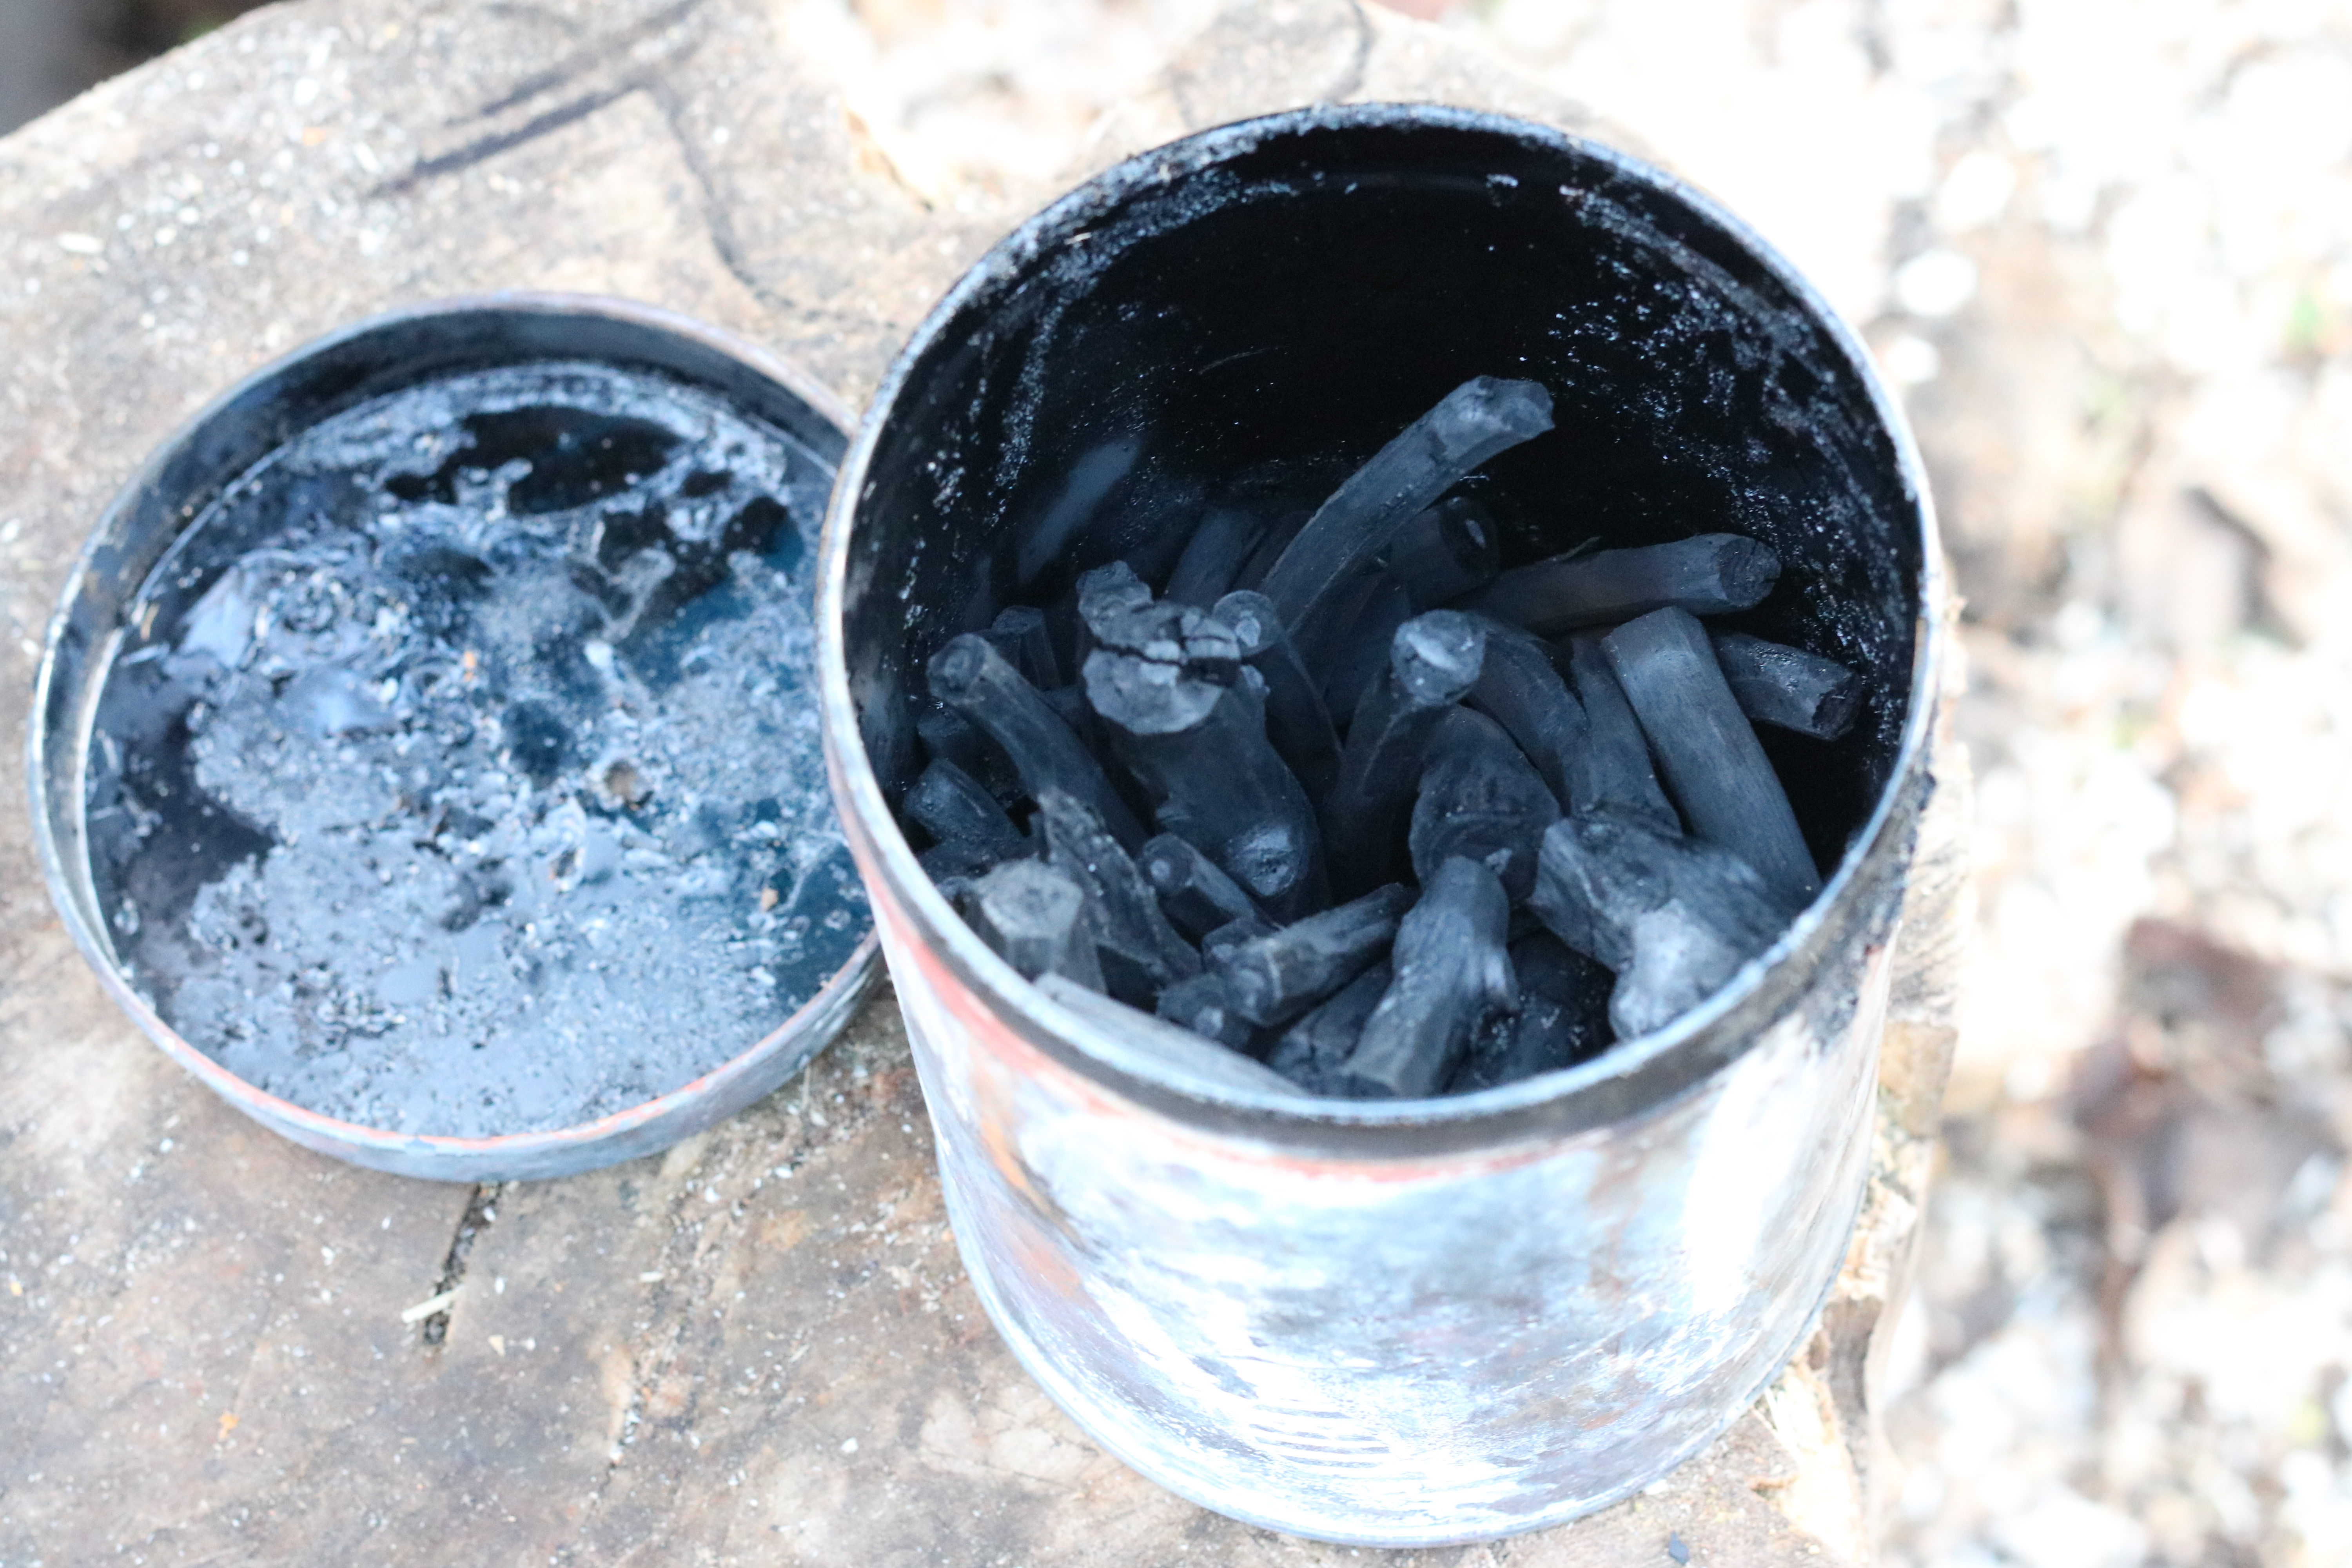
Tiny kiln of artists’ charcoal
Another thing that Peter and Jacqui supplied was a tin. To be precise, a small round tin with a tight-fitting lid, and a hole pierced into the lid. We spent a little time stripping bark off straight twigs of wood of around 1 cm diameter. Peter packed these into the tin, and the tin sat on the fire for a bit – a tiny kiln (with an external heat source… a retort?). Smoke came out of the hole in the lid, and after a few hours this smoke changed colour.

Wood pile canvas
At first, with any kiln, the smoke coming out is mostly thick and white – with a hint of brown and yellow. This is mostly steam coming from rather wet wood, with a few poisonous gases thrown in. During the course of the burn, as the wood dries, the smoke starts to have less steam – it gets thinner. Once the contents of the tin (or kiln) have all converted into charcoal, then it starts burning. The smoke that comes from burning charcoal is blue. Once you see blue smoke coming from any kiln, you know that you’re burning the profits, and it’s time to stop the burn. For the tin, we just took it off the fire. Once cool, we had a tin full of artists’ charcoal… luckily we had some artists too…

Temporary sign
Crook searching

Harvesting a root crook
We also looked for crooks of a more woody kind. We’ll be making spoons next on the course, so we went for a walk to see if we could spot any spoon crooks in the trees. There weren’t many to see, and some we did see were ash, which isn’t too good for spoon carving. But we did harvest one exposed crooky root. It’ll be interesting to see how root carves, if we get a chance with it next week.
Finishing up
How do you know when to stop?
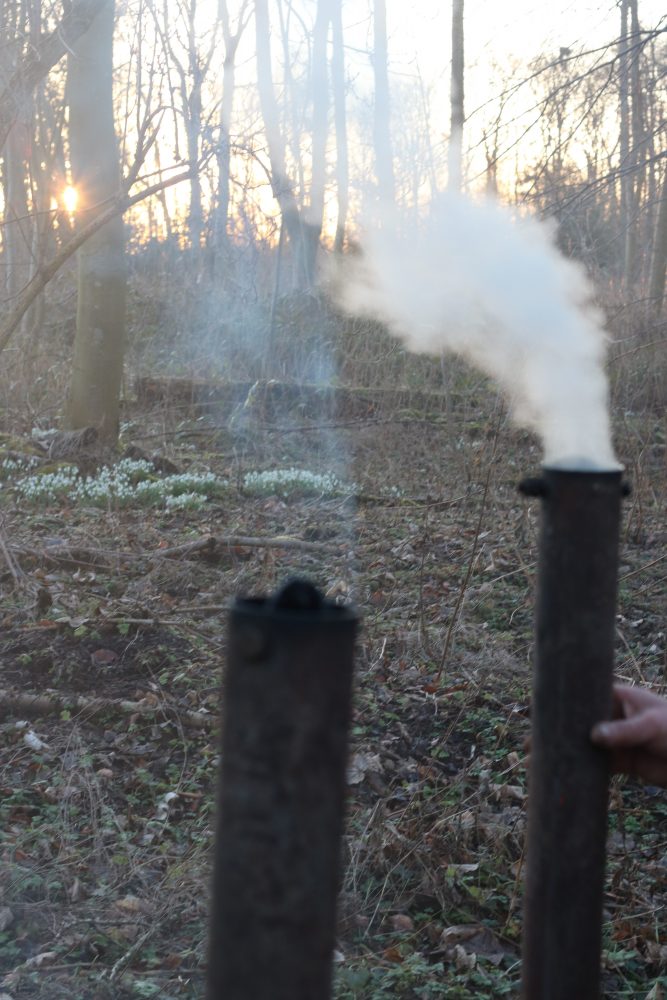
Blue smoke
Clue 1: Ideally the burn should be stopped when the smoke turns wispy, and just before it turns blue (the blue is the charcoal burning away). What can happen is that one chimney might turn blue before the others. That would be a good time to shift the chimneys, even if it wasn’t quite at the regular interval. It shows that some charcoal is in the kiln, but that there’s still par char too.

Lighting the smoke
There are a couple of slight flaws in determining these clues. The first is that by this time it was dark. It was definitely too dark to be able to see wispy changes to smoke, and it was too dark to see water evaporating too. On the positive side, it was dark enough to make a great candle-flare when the smoke was lit. This is another way of determining that the burn is ready to finish. It was also time to go home – so that was the time to stop the burn.

Another fantastic summary of the weekend Rachel. I dont know how you manage to write all the info down so quickly. Well done.
Glad you liked it Graham. For me it’s easier to get the info recorded quickly – I know that it gets harder to do when I put it off. But after a long day burning it did take a fair bit of effort.