
Unfinished business
By the start of day 21, I have a lot of unfinished business – a total of four projects still to complete:
- I have a handle for a maul; it needs finish turning and fitting into a head.
- My chopping clock has three legs; they need shaving to final diameter and fitting into the block. I also need to decide on the shape of the block; at the moment, I’m thinking about having a block with a step in it and a groove (chainsaw work required there too).
- My sycamore bowl needs to dry, and then have finishing cuts.
- I also have a cherry bowl – this needs shaping before drying.
I fear this is going to be a situation that I’ll just have to get used to. Now, I don’t mean that these projects won’t get completed. They will! The final two course days are next weekend, and I’m not leaving the workshop without a full set of completed projects. (Insert semi-humorous smiley face emoji at this point).
No, what I mean is that I’m beginning to understand that greenwood work is so varied and broad that there will always be a list of projects that I’ve started, but not finished. Or that I’m hoping to start. Or that I’ve just got sketches about and no plans (yet) for either starting or completing.
List of skills / projects to acquire / complete
- Birch bark sheaths; how do you harvest birch? How do you weave sheaths?
- Chip carving; I have a knife, I just need time to try it out, and practise, and practise, and practise.
- Willow baskets. Handles. French randing. Ovals, squares. Cute little baskets…
- Kolrosing. See chip carving (above).
- Shrink pots. I have an auger, and I have an in cannel gouge (thanks, Graham). I even have some suitable wood. Now, I just need time. I want to make my first lid (and second, and third, etc.). I’d like to play with decorating shrink pots.
- Bowl bench. Once I’ve completed this (additional unfinished item, see below), I’ll need to make some wedges, and some blocks, and some pegs.
- Pole lathe… I’ve decided to keep it in the back yard. I’ve relocated a motorbike cover to protect it from the rain. Now I need to fix some hooks to string the shock cord from. Of course, after that I need to practise. And I have a whole series of projects to make on it, including the rounders bat, of course.
- Turned bowls. My pole lathe can be modified to turn bowls on. I need to learn how to do this, and then do it, and then practise, practise, practise.
- Spoon racks. I need more spoon racks, and also other spoon display stands for the market stall.
I’m confident that if I spent another few minutes, I’d probably double this list. And I’m also confident that I’ll come up with more projects as soon as I speak to anybody else in the greenwood world.
Managing expectations
I’m starting to realise that I’ll need to find a way to manage all this stuff. I have the type of personality that doesn’t always cope well with a list of things to do that is too long. Part of managing it will be about enjoying the journey – see last week’s blog. But I feel that I’ll have to pair that technique with some time planning and prioritising. Maybe it’s a bit like planning a touring holiday – for me, it’s a more rewarding experience if more time is spent at fewer destinations, rather than trying to visit a new place every day. So perhaps that’s the first thing to put on the “things to do list” – make priorities, and a plan.
And there’s more…
By the end of the day, I had gathered another two unfinished items. I now have a bowl bench to complete, and a cleft ash gate to assemble…
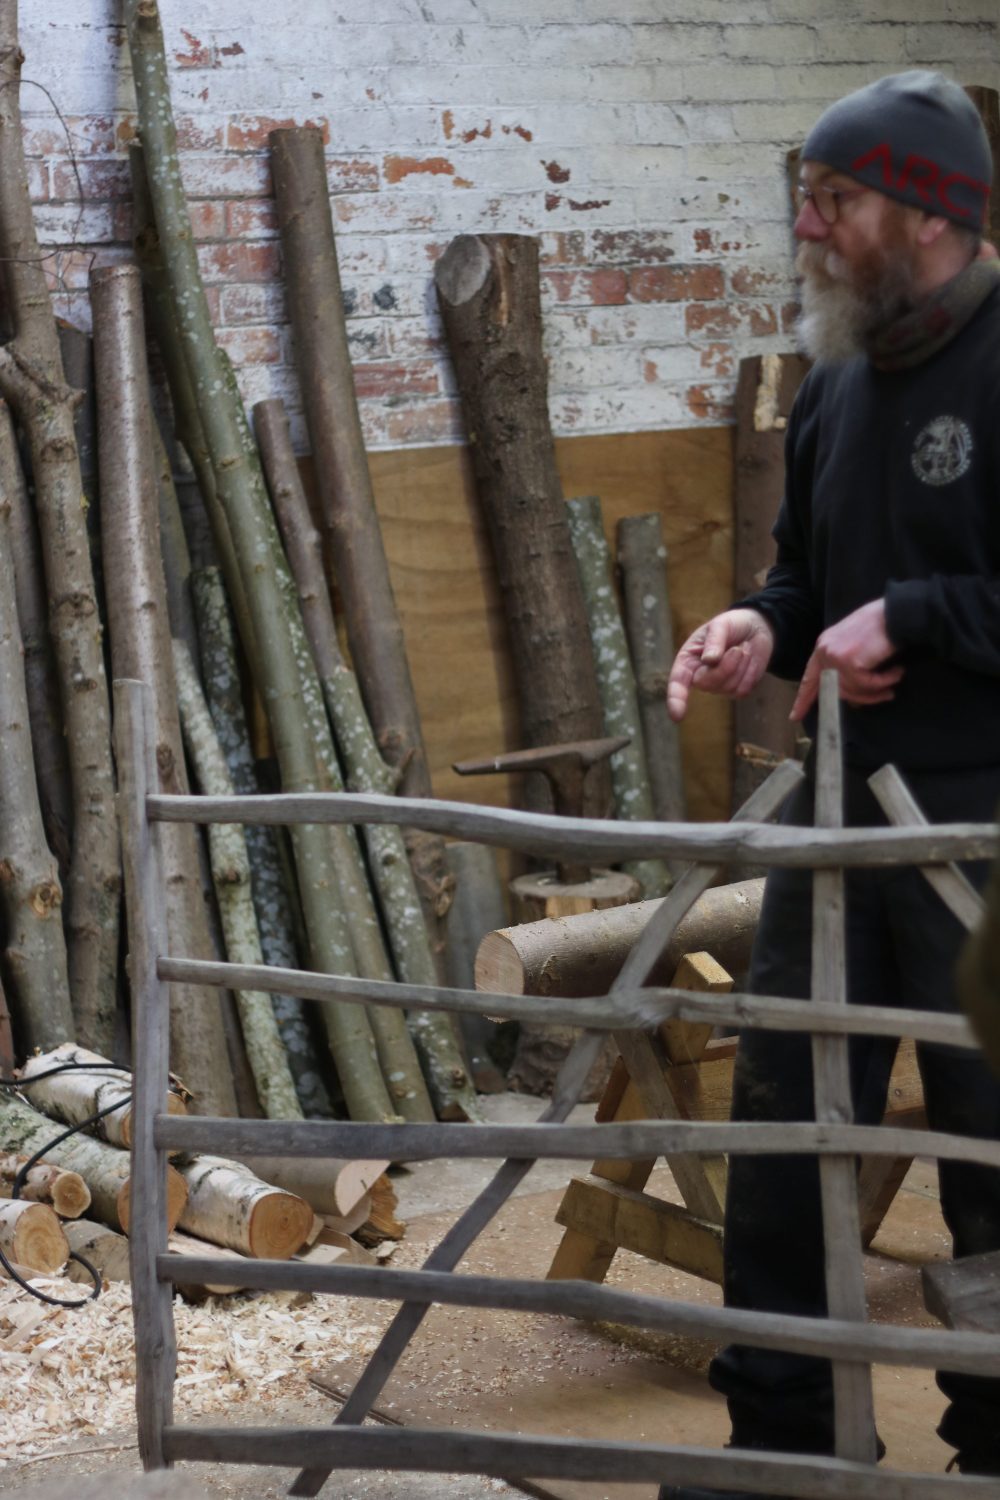
Cleft ash gate
Cleft Ash Gates
These are made from ash(!). But sweet chestnut works really well, or oak. The wood needs to be ring porous, and something that rives cleanly. Green wood rives more slowly. This means you have more time to control where the wood splits.
Although they’re called gates, these aren’t really designed to be hung (though they can be, with rope hinges). They were used as lightweight hurdles that could be used to create quick enclosures.
One of the attractions of cleft gates is the strength in the cleft wood; the grain is intact, and therefore stronger. This means that thinner, lighter pieces of wood still make a robust gate. The ideal material to choose is the smallest diameter that gives the desired dimensions. If you start with chunkier pieces of wood, it just means that more finishing is needed. It takes a long time to achieve “thinner and more elegant”.
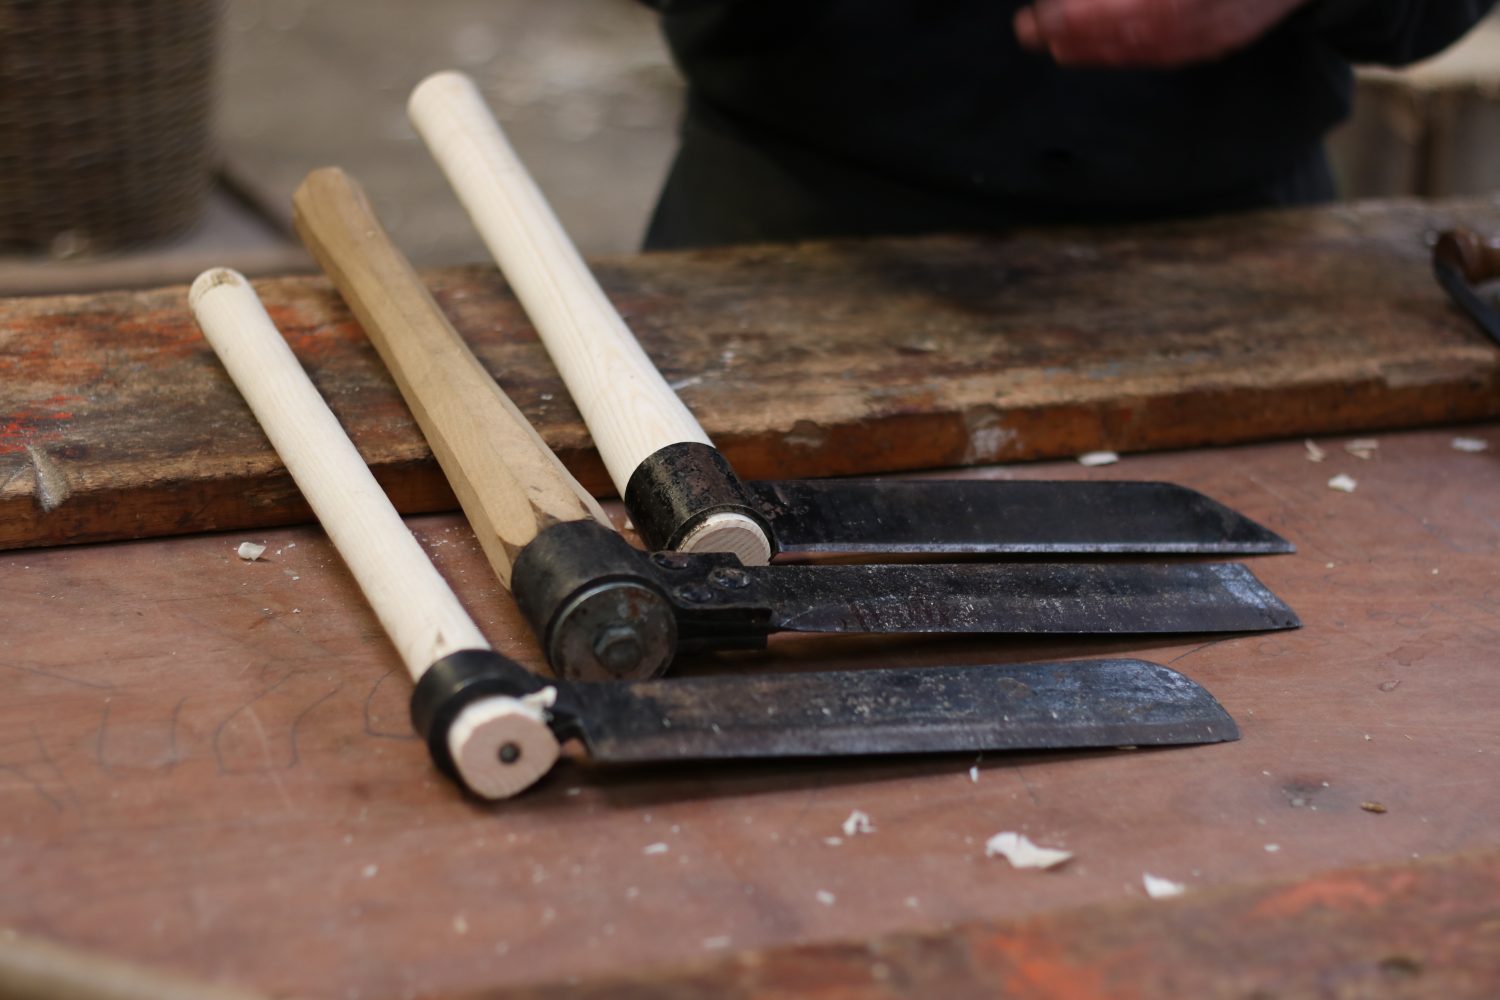
Three froes
Heads
Each gate has a head at either end. They are made from two halves of a cleaved log, to form a matching pair. Once the froe starts the split, use the cleaving brake to make sure that the log splits down the middle.

Using the cleaving brake
If the split is running off (going towards the thinner half of the log), then place the fatter half on the bottom, and lever down on the froe. The split runs back towards the more bent half (ideally).
Once split, taper one end with an axe. Then take out and wind, and smooth the surface with the draw knife. Take the bark off, and work around the knots.

Five chunky rails
Rails
Our gates will have five rails running between the heads. These are a smaller, lighter section, made from cleaving a log into eight (or maybe 16). It’s even harder to make sure that these smaller sections rive accurately down the middle.
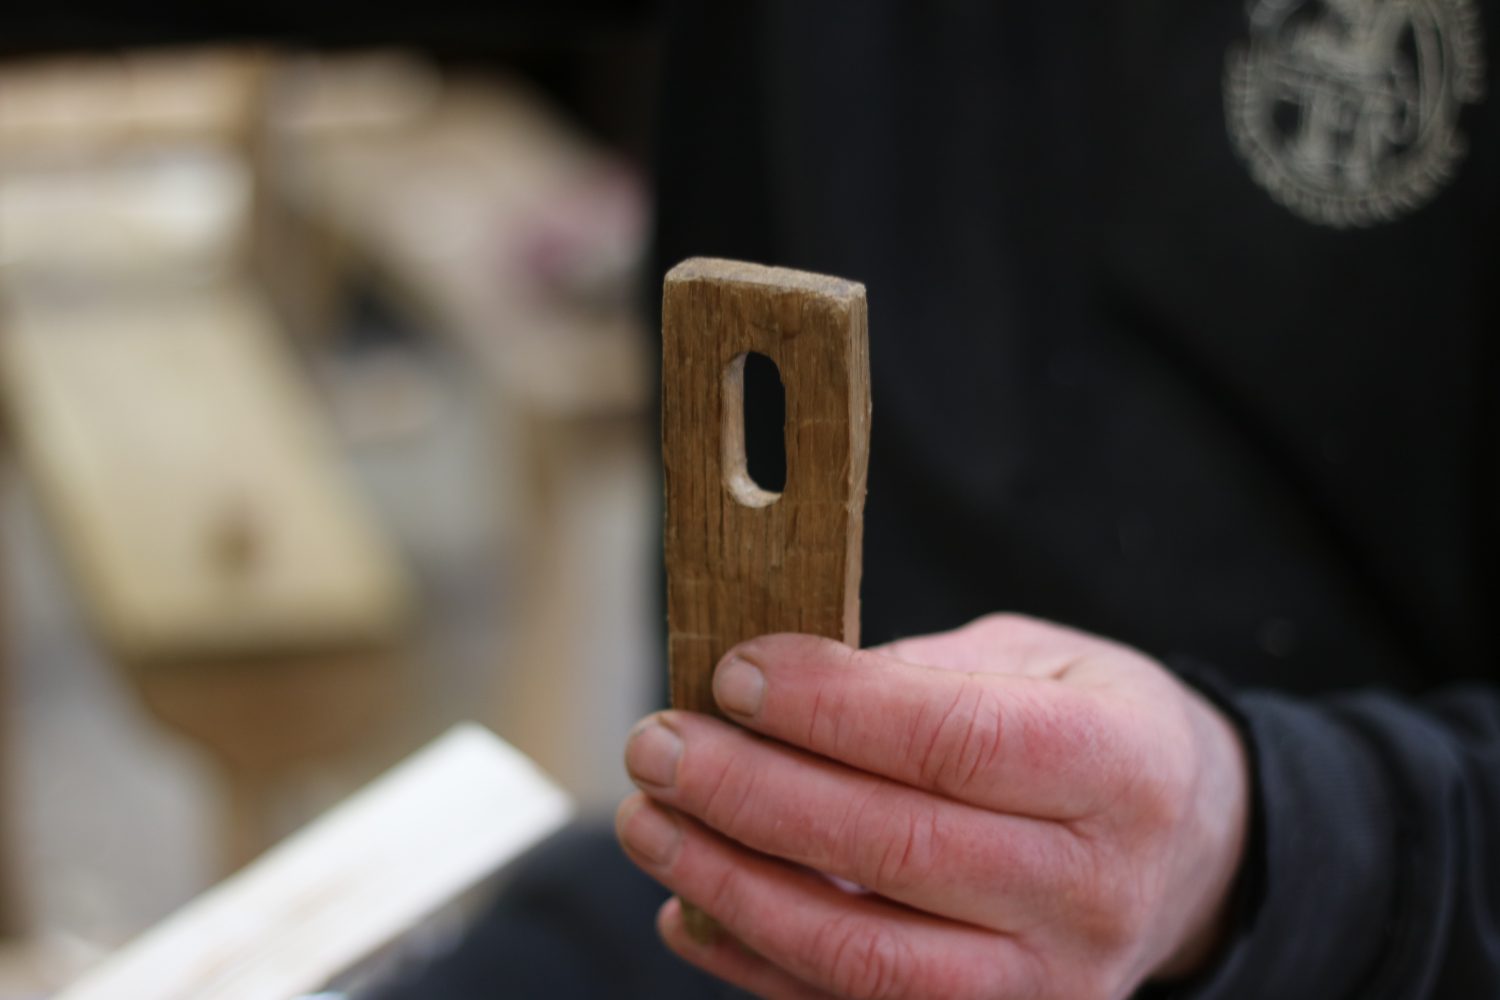
Not a round tenon
Clean up each rail on the shave horse, and then make a tenon at each end. One larger gates, these tenons are oval in section, and they need to line up with each other. We’ll be using round tenons. Shape each rail so that they look like a family of rails, and they taper at each end to the tenon.
By the end of the day, I had a bundle of seven sticks. Another project to complete….

Recent Comments